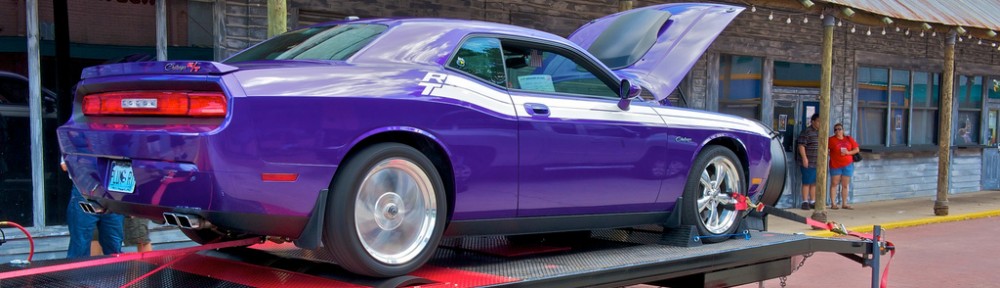
Received my Petty’s Garage rear strut brace and wanted to do a unboxing and installing post.
Before we get into the unboxing and installation part of this post, let me take a minute to talk about the service and speed of delivery I’ve received over the years purchasing from Petty’s Garage. While I’ve been very pleased at their service in the past, this part was ordered by my wife on Dec 21rd (Friday before the Christmas holiday) as a Christmas present. I was not expecting this to come in until after the new year. However I received a UPS notice that my package from Petty’s Garage was going to be delivered on Friday Dec 28th. I’ll be honest with you, I really think these guys are Santa and his elves or they have licensed Santa’s exceptional delivery protocols. I am amazed at how quickly these guys and custom paint a part and have it at my door step in under 5 working days.
On to the unboxing:
As always the product came well packaged and wrapped with all the extra hardware safely tucked into it’s own packaging
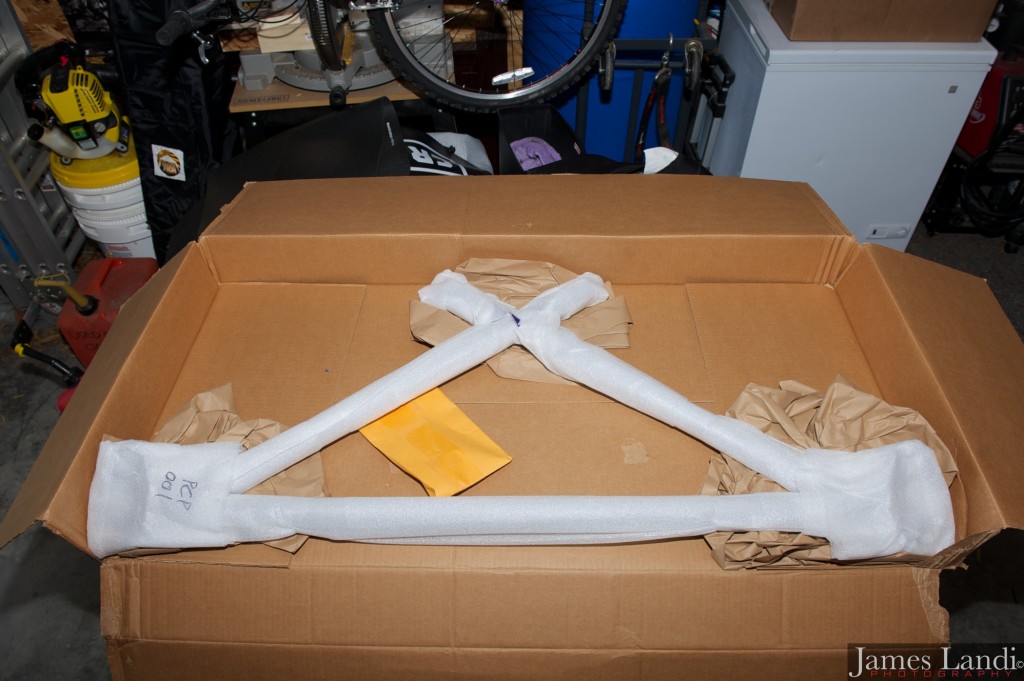 ** My only complaint is they must use the heaviest type tape to help hold the pad wrapping in place. I had problems cutting it with a brand new razor blade. You really want to be careful with cutting this TOP SECRET NASCAR approved packaging tape, making sure you don’t scratch your freshly painted brace.
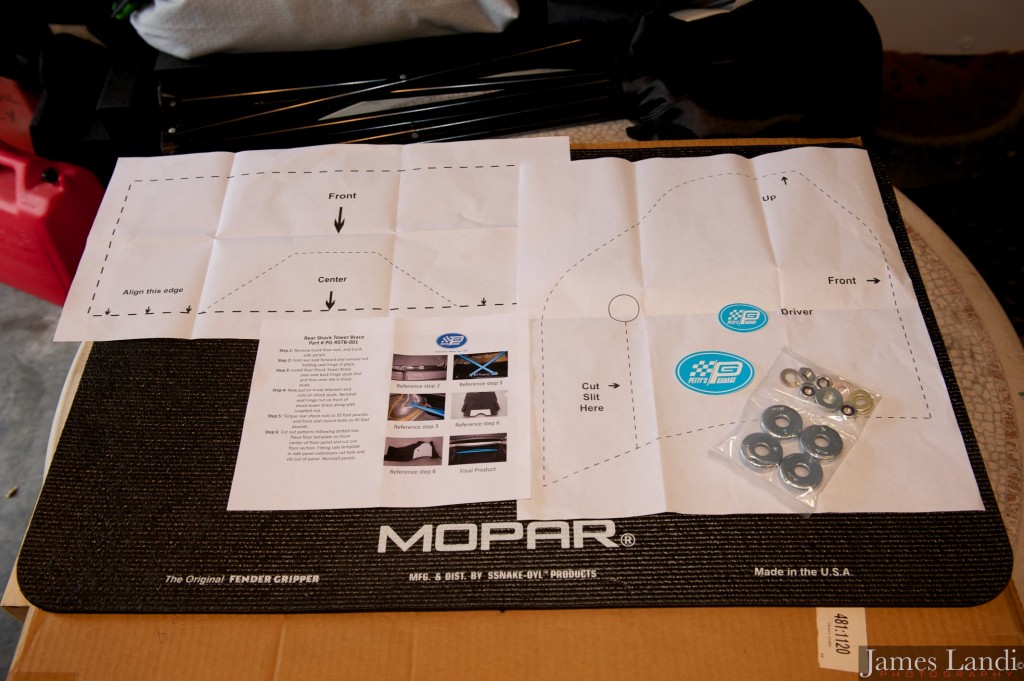 Included in the small envelope is:
- Instructions (includes torque settings for strut tower and seat mount)
- cutout templates
- Hardware (4 cup retainers, 4 strut tower bolts, and 1 seat hing nut)
- standard Petty’s sticker
On to the installation….
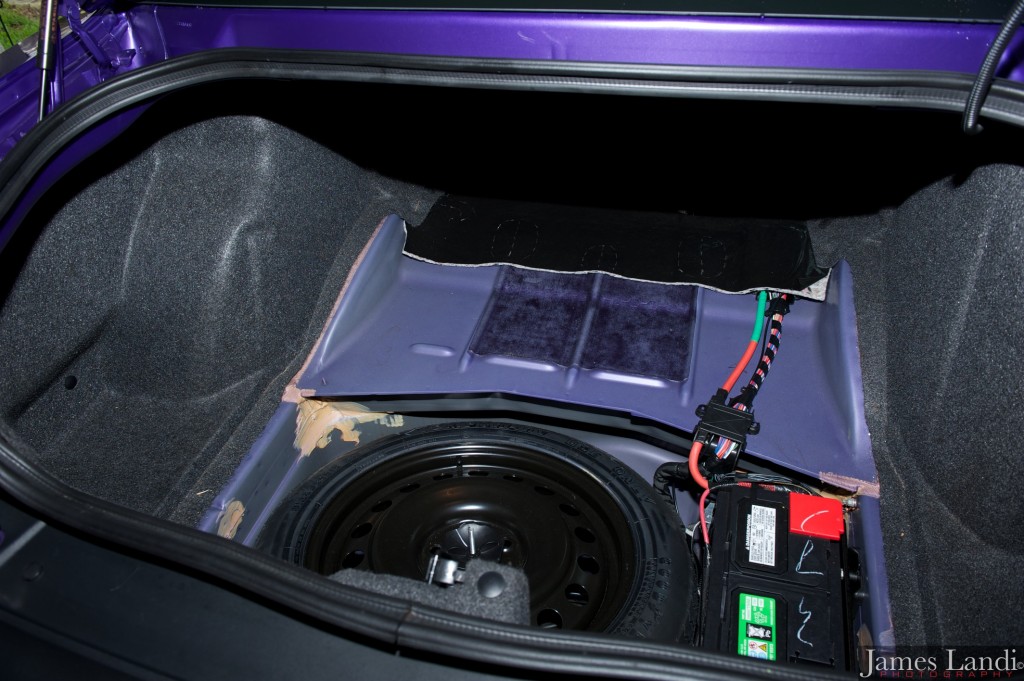
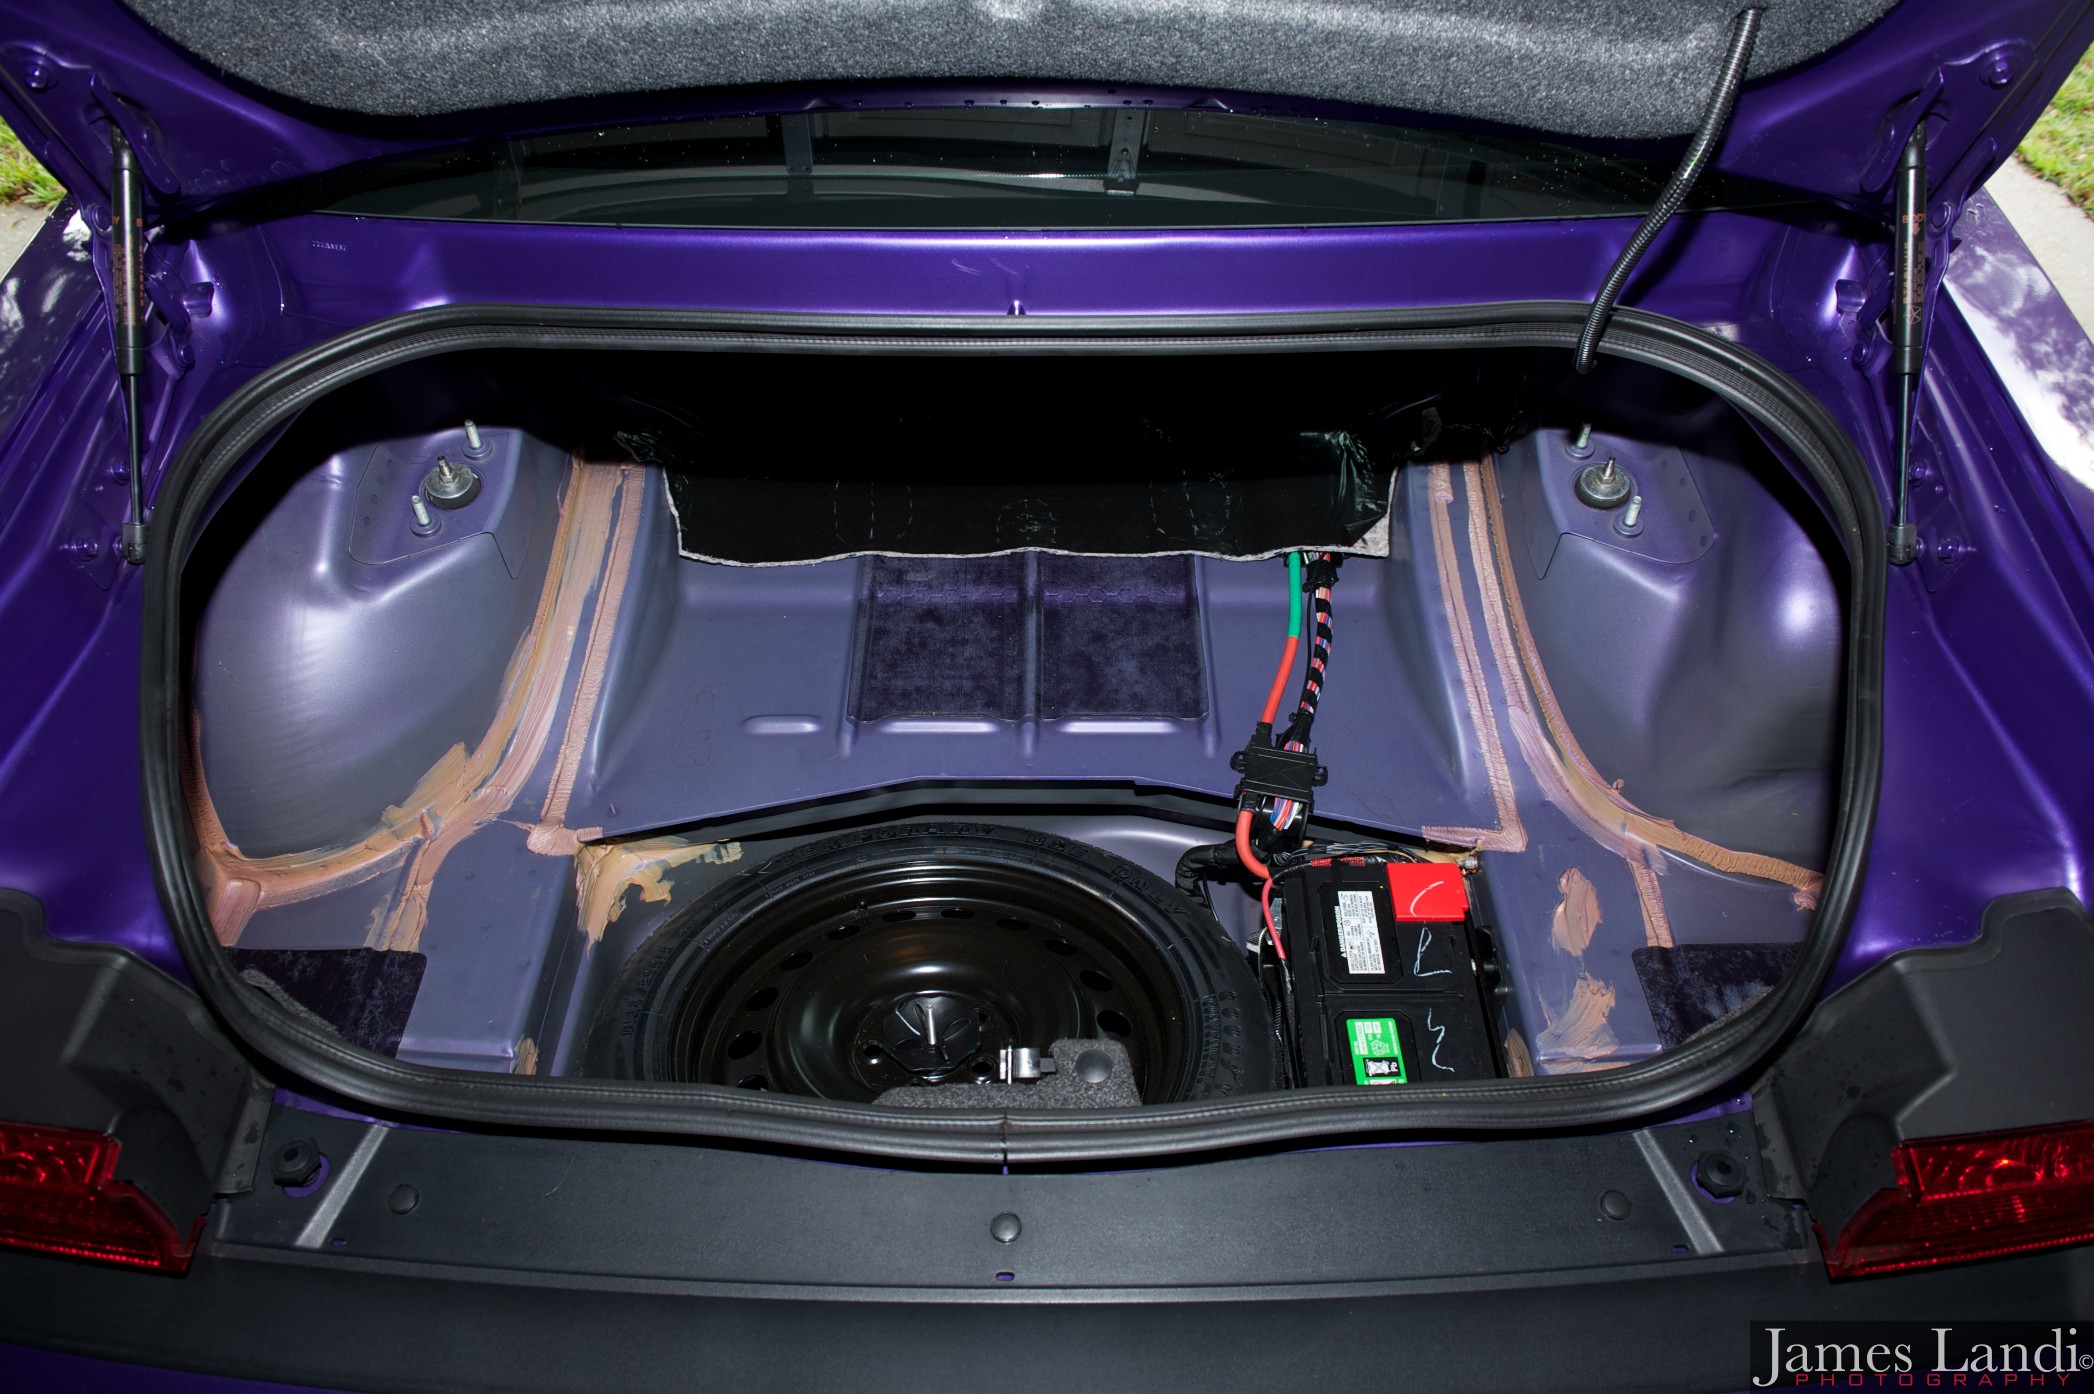
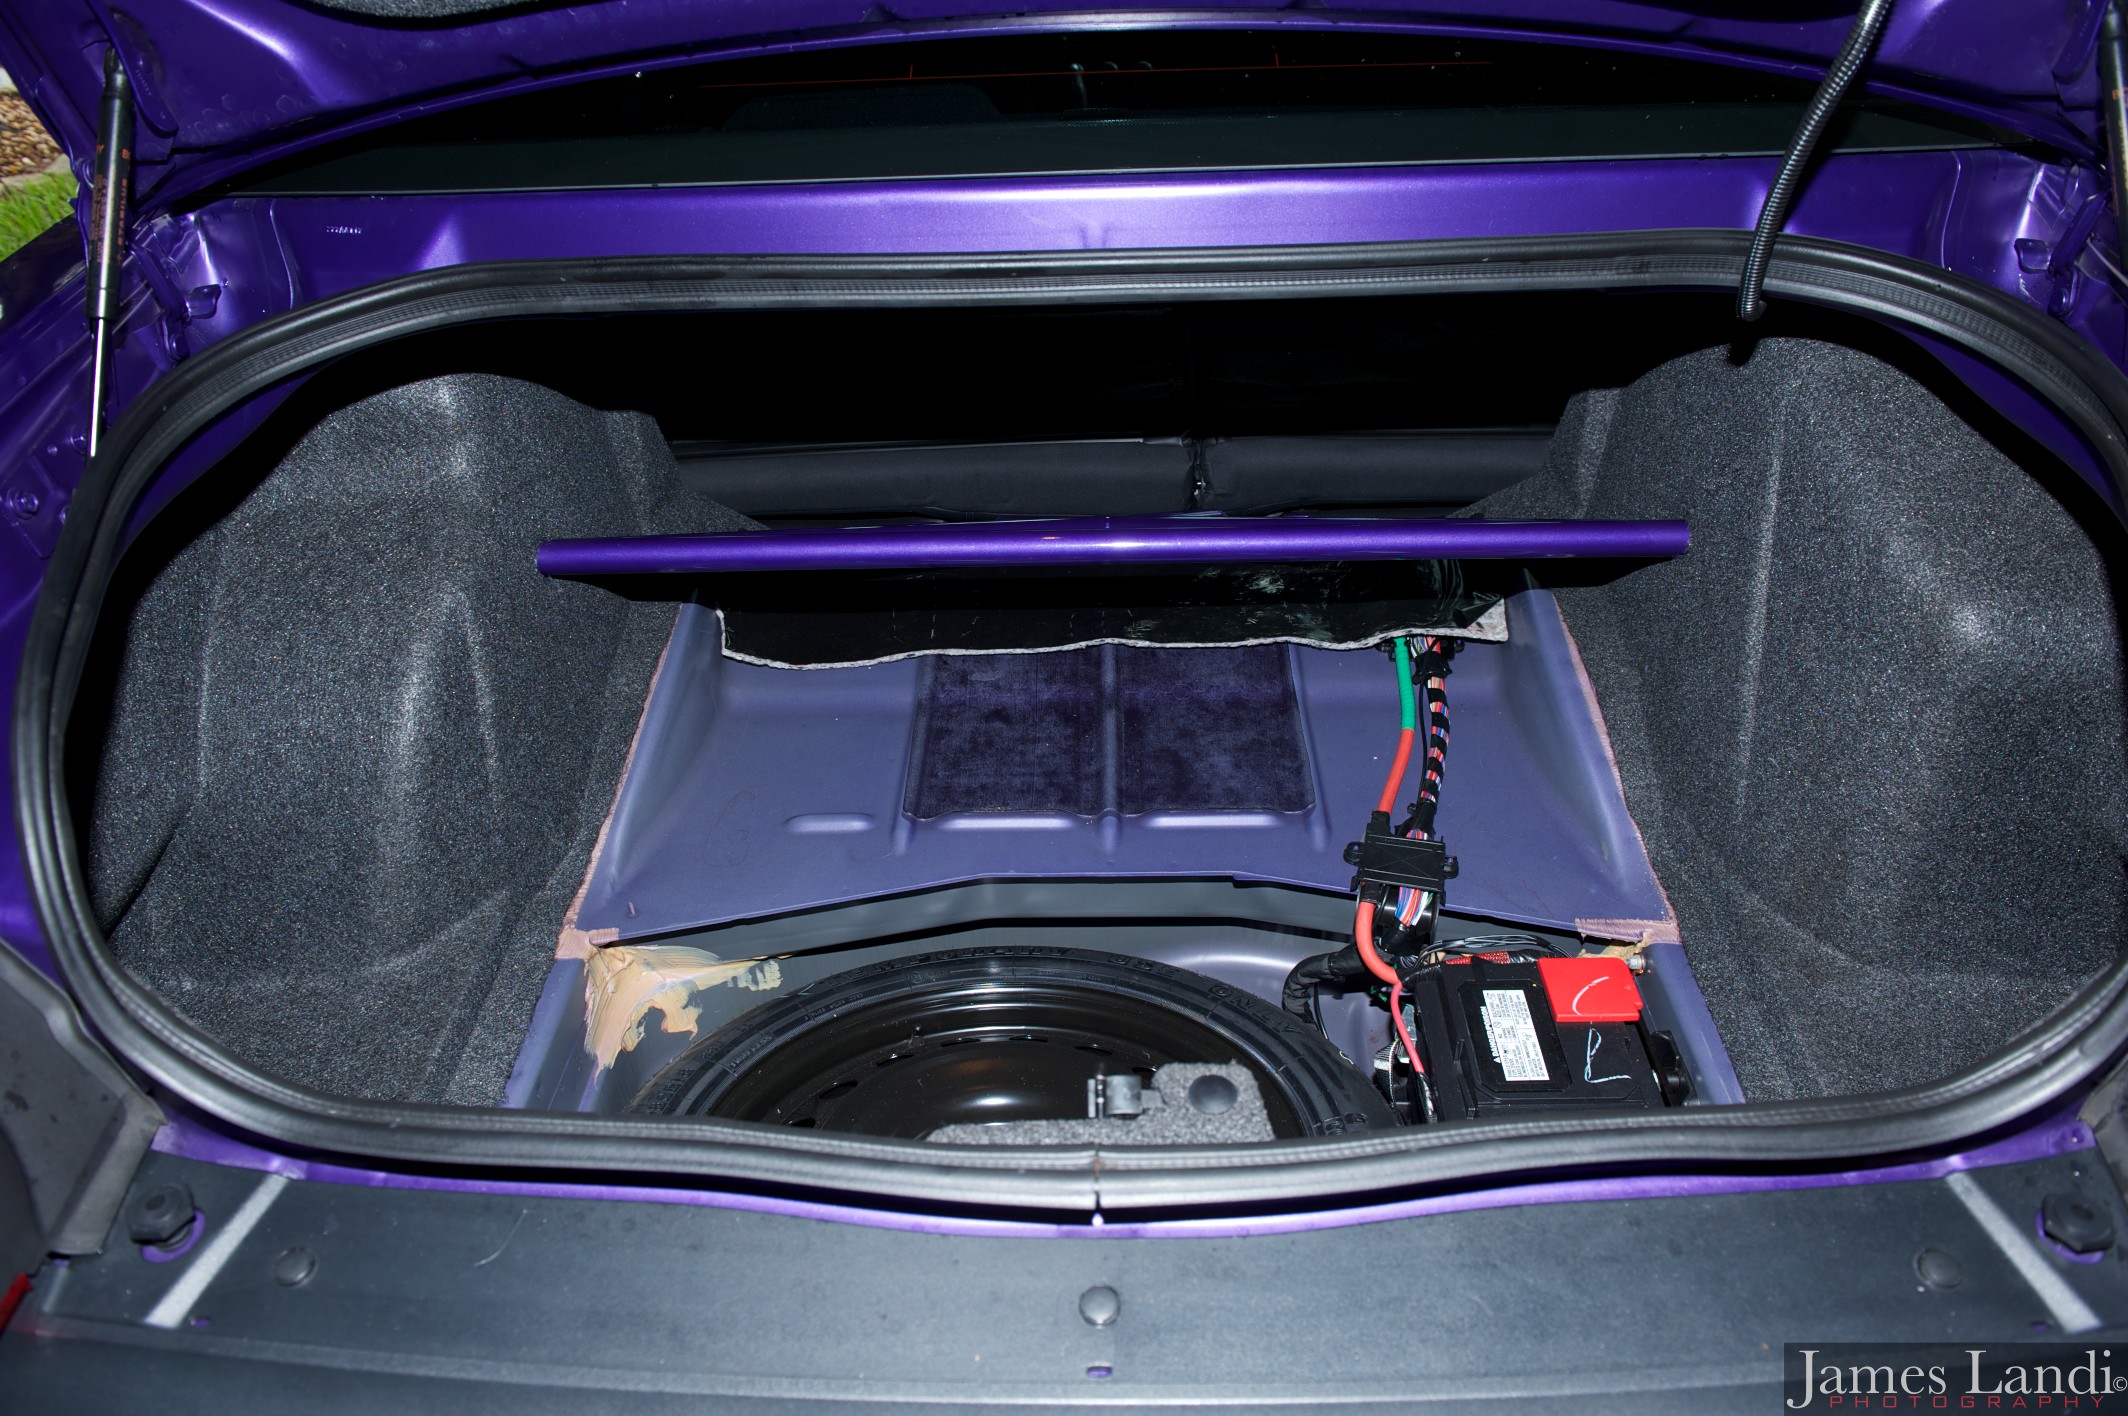
We first need pull down both back seats to gain access to the rear seat anchor points. We then need to remove the truck floor mat, which covers the spare tire and battery and is just laying in place
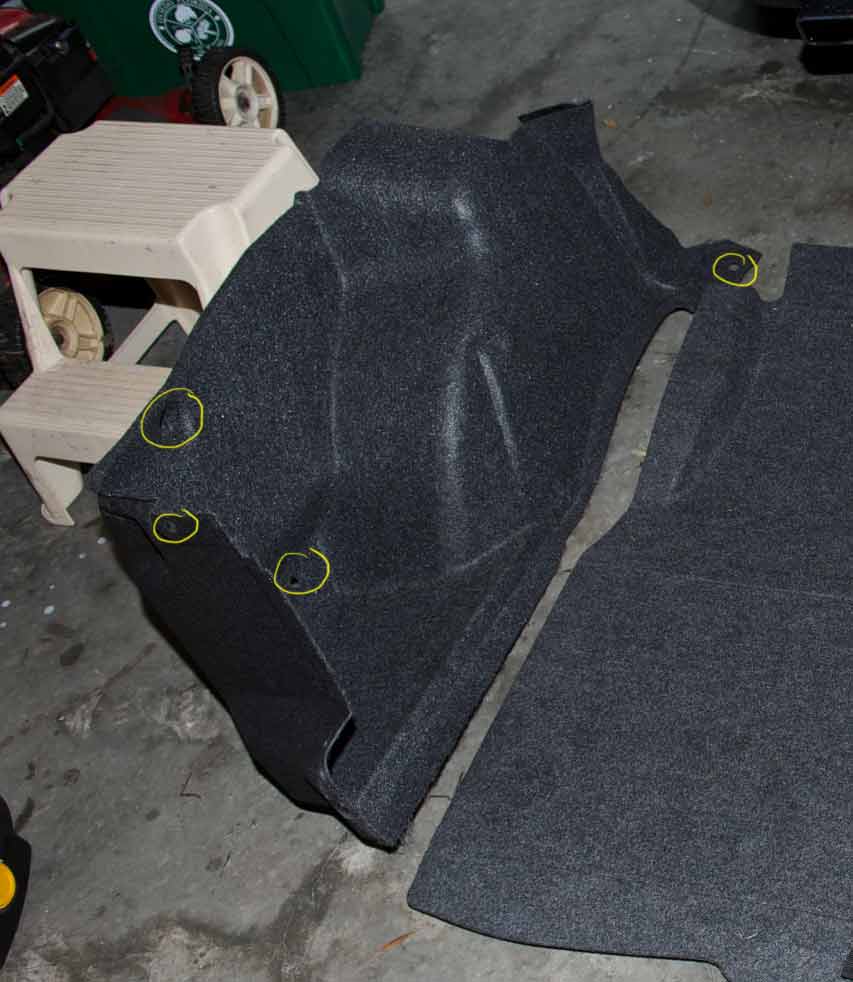
 Next we need to remove the two side panels. These are held into place with plastic push pins. There are 4 locations inside the truck
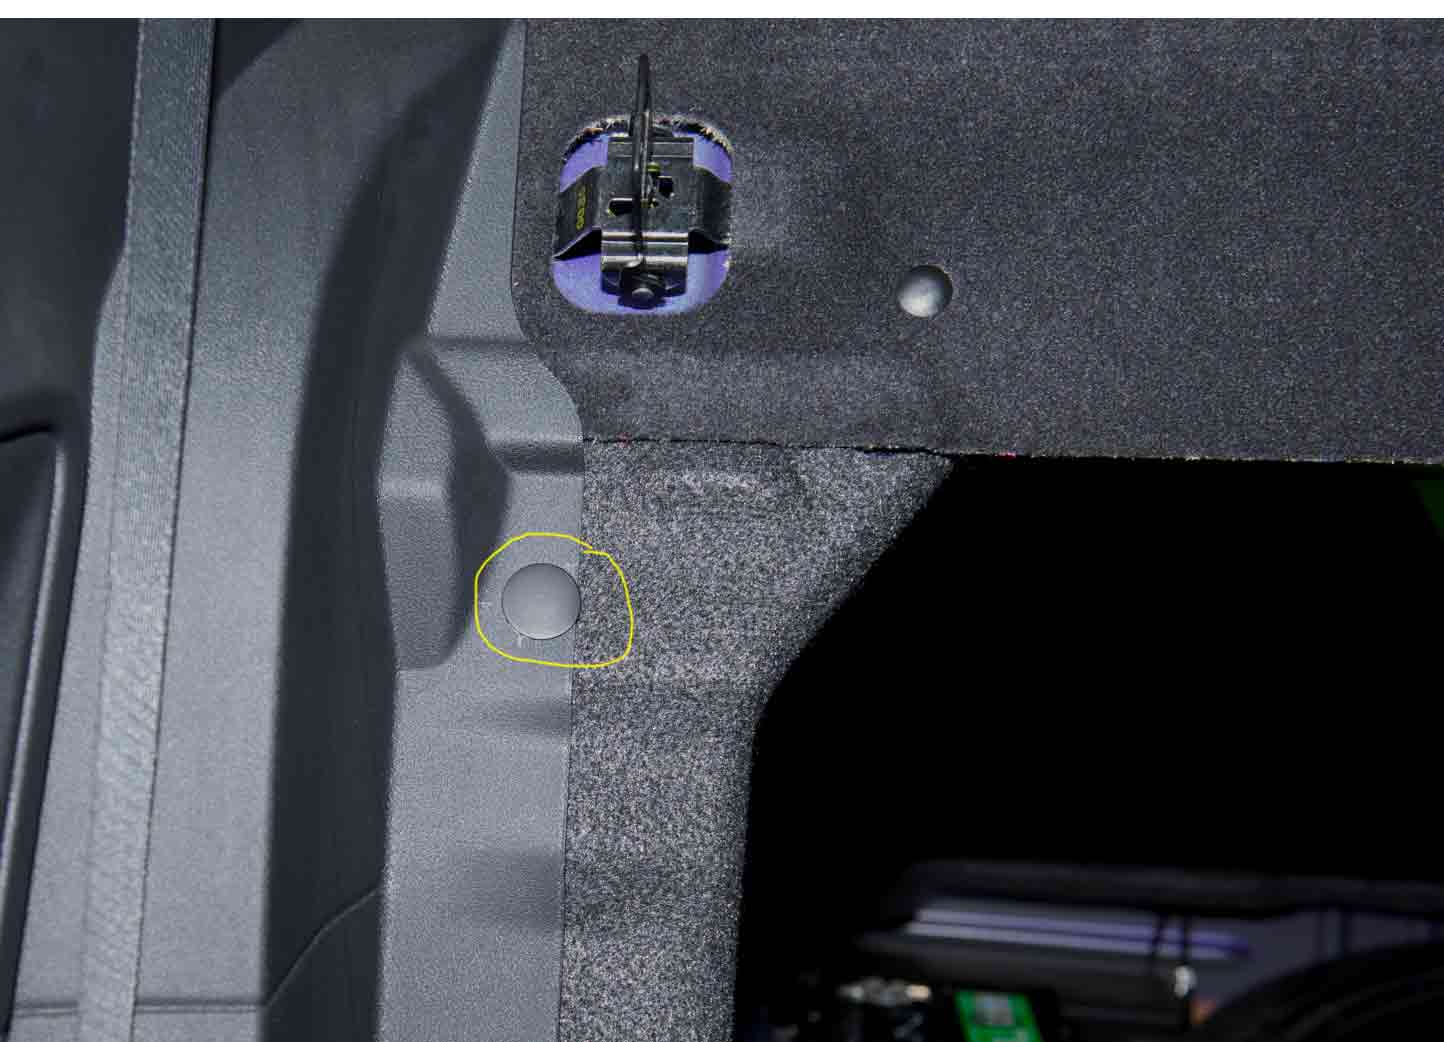
 And one pin inside the cabin behind the rear seats. Note you only have to remove the pin I’ve circled in yellow.
Note there are two different sizes of push pins when removing this panel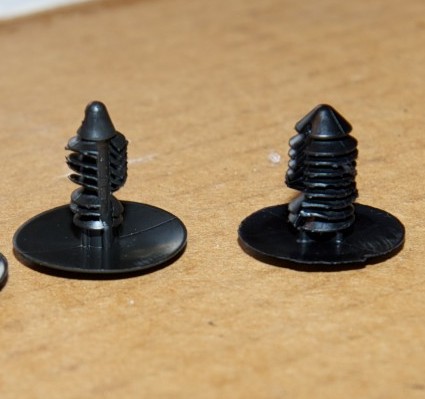 The larger ones go inside the truck, while the thinner one hold the sides from inside the cabin of the car
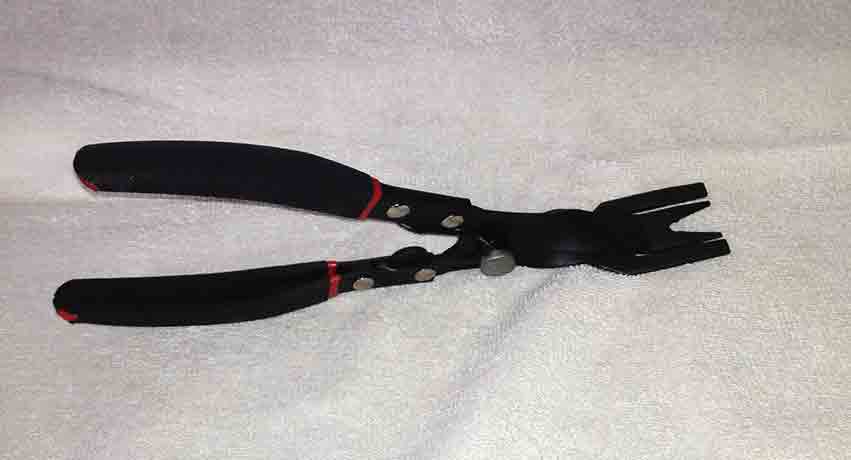
If you’re doing any type of work on your car, I would highly recommend picking up one of these bad boys and it makes your life a lot better with less damage to the cars panels. They go for around $12 at Harbor Freight or $20 at your local parts store.
Once all the panels are out of the car you’re ready for the easy part, installation of the strut tower brace itself.
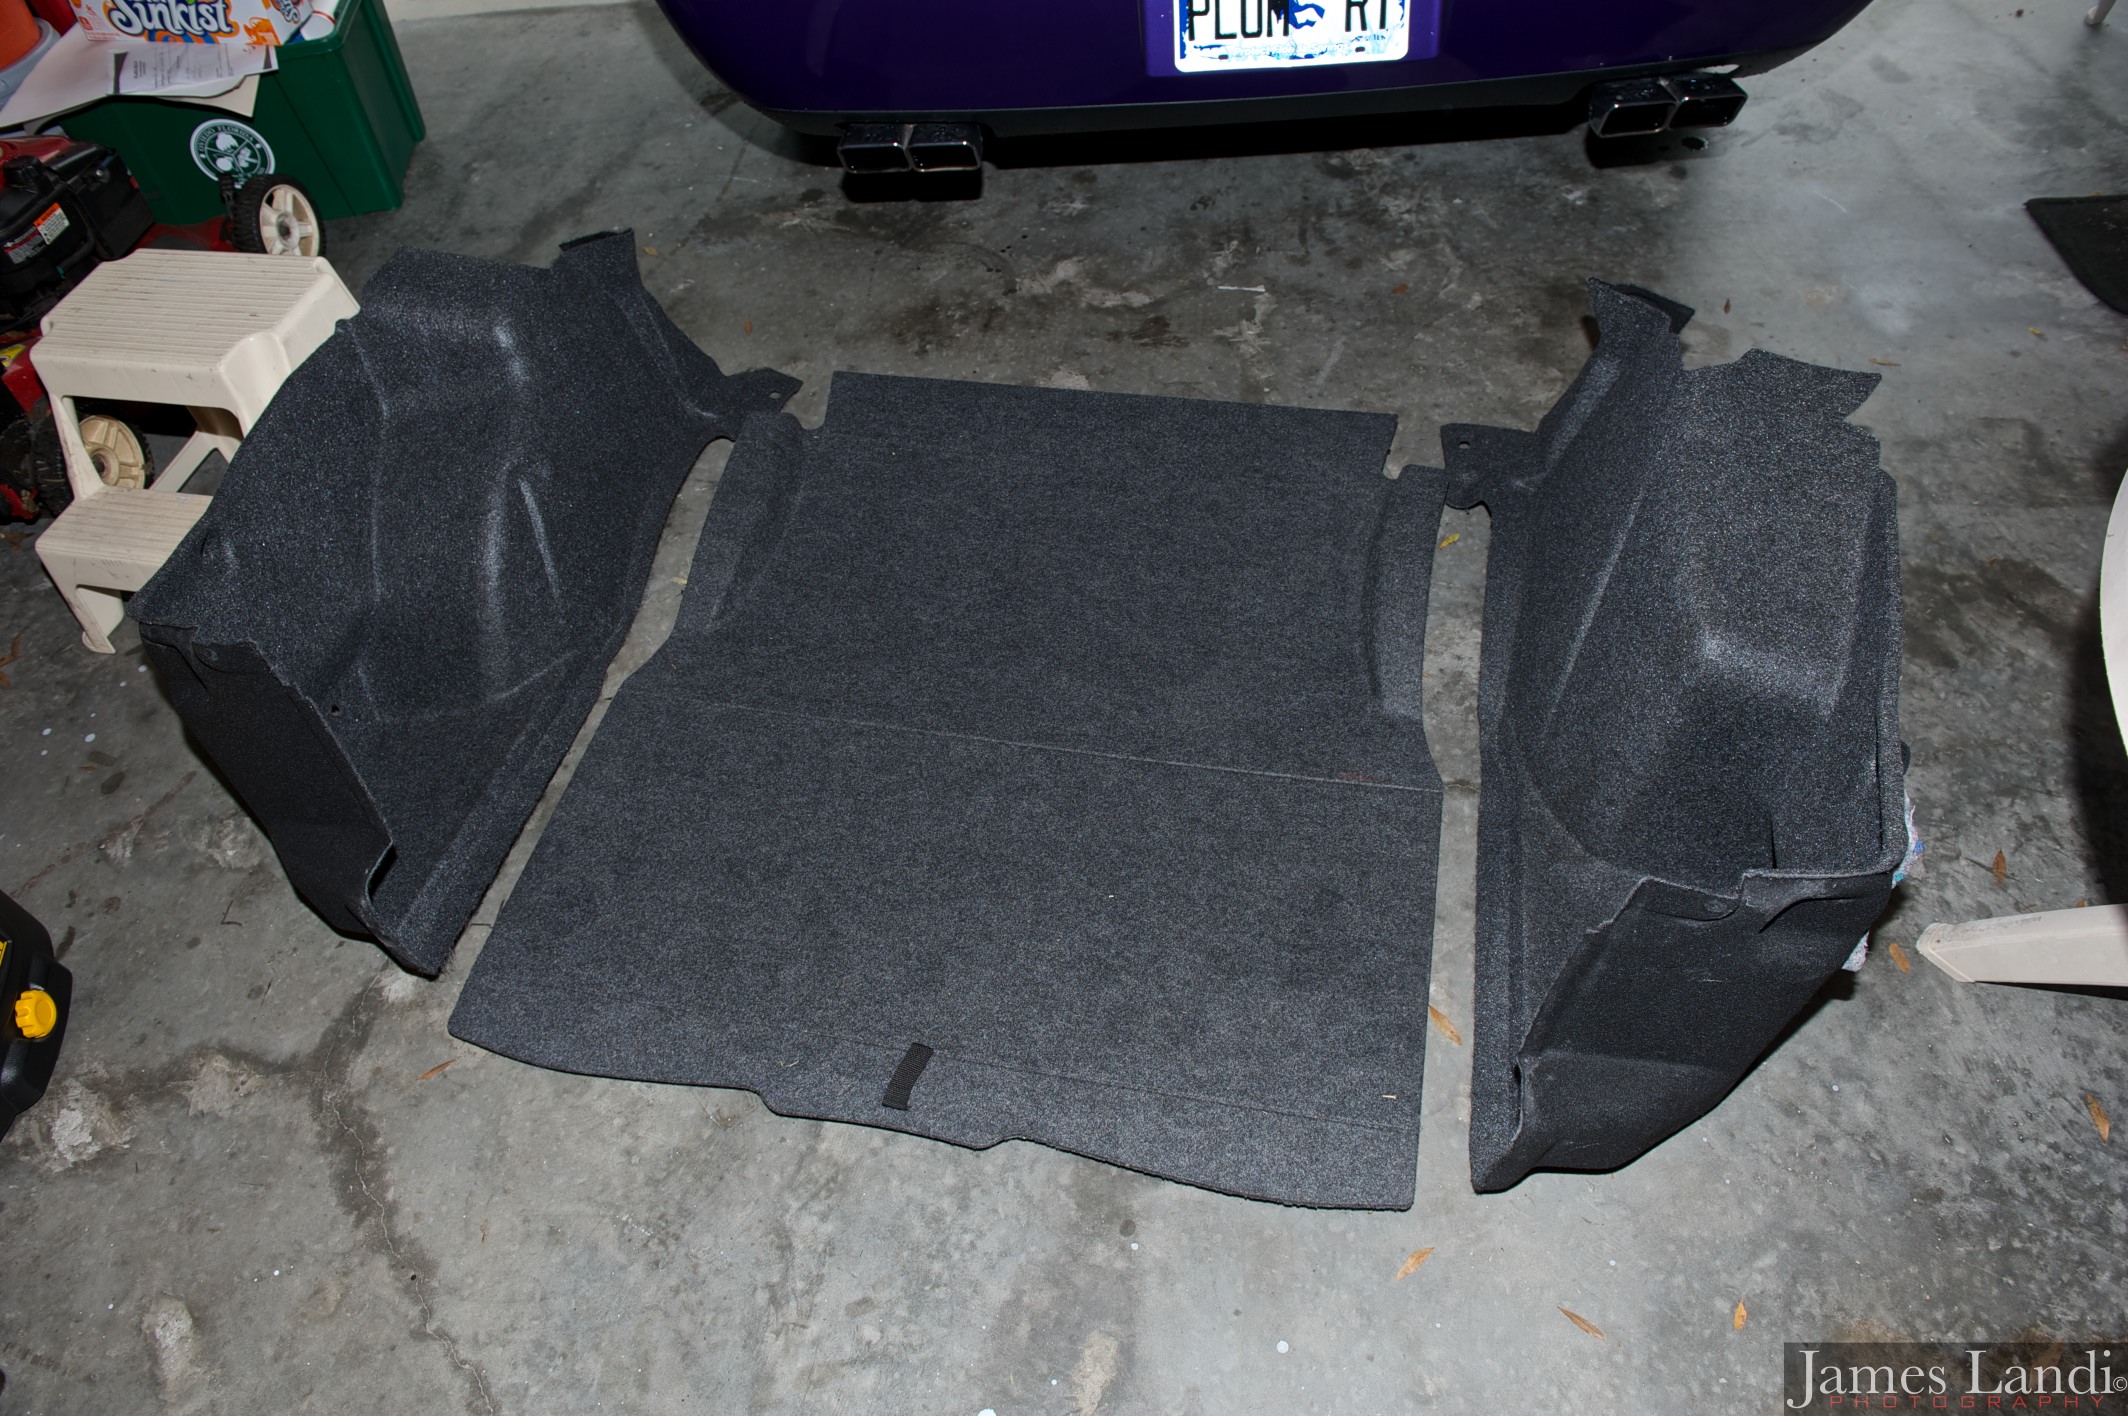
 Panels removed from the car. You’re going to need to trim all three pieces, once the strut brace is installed.
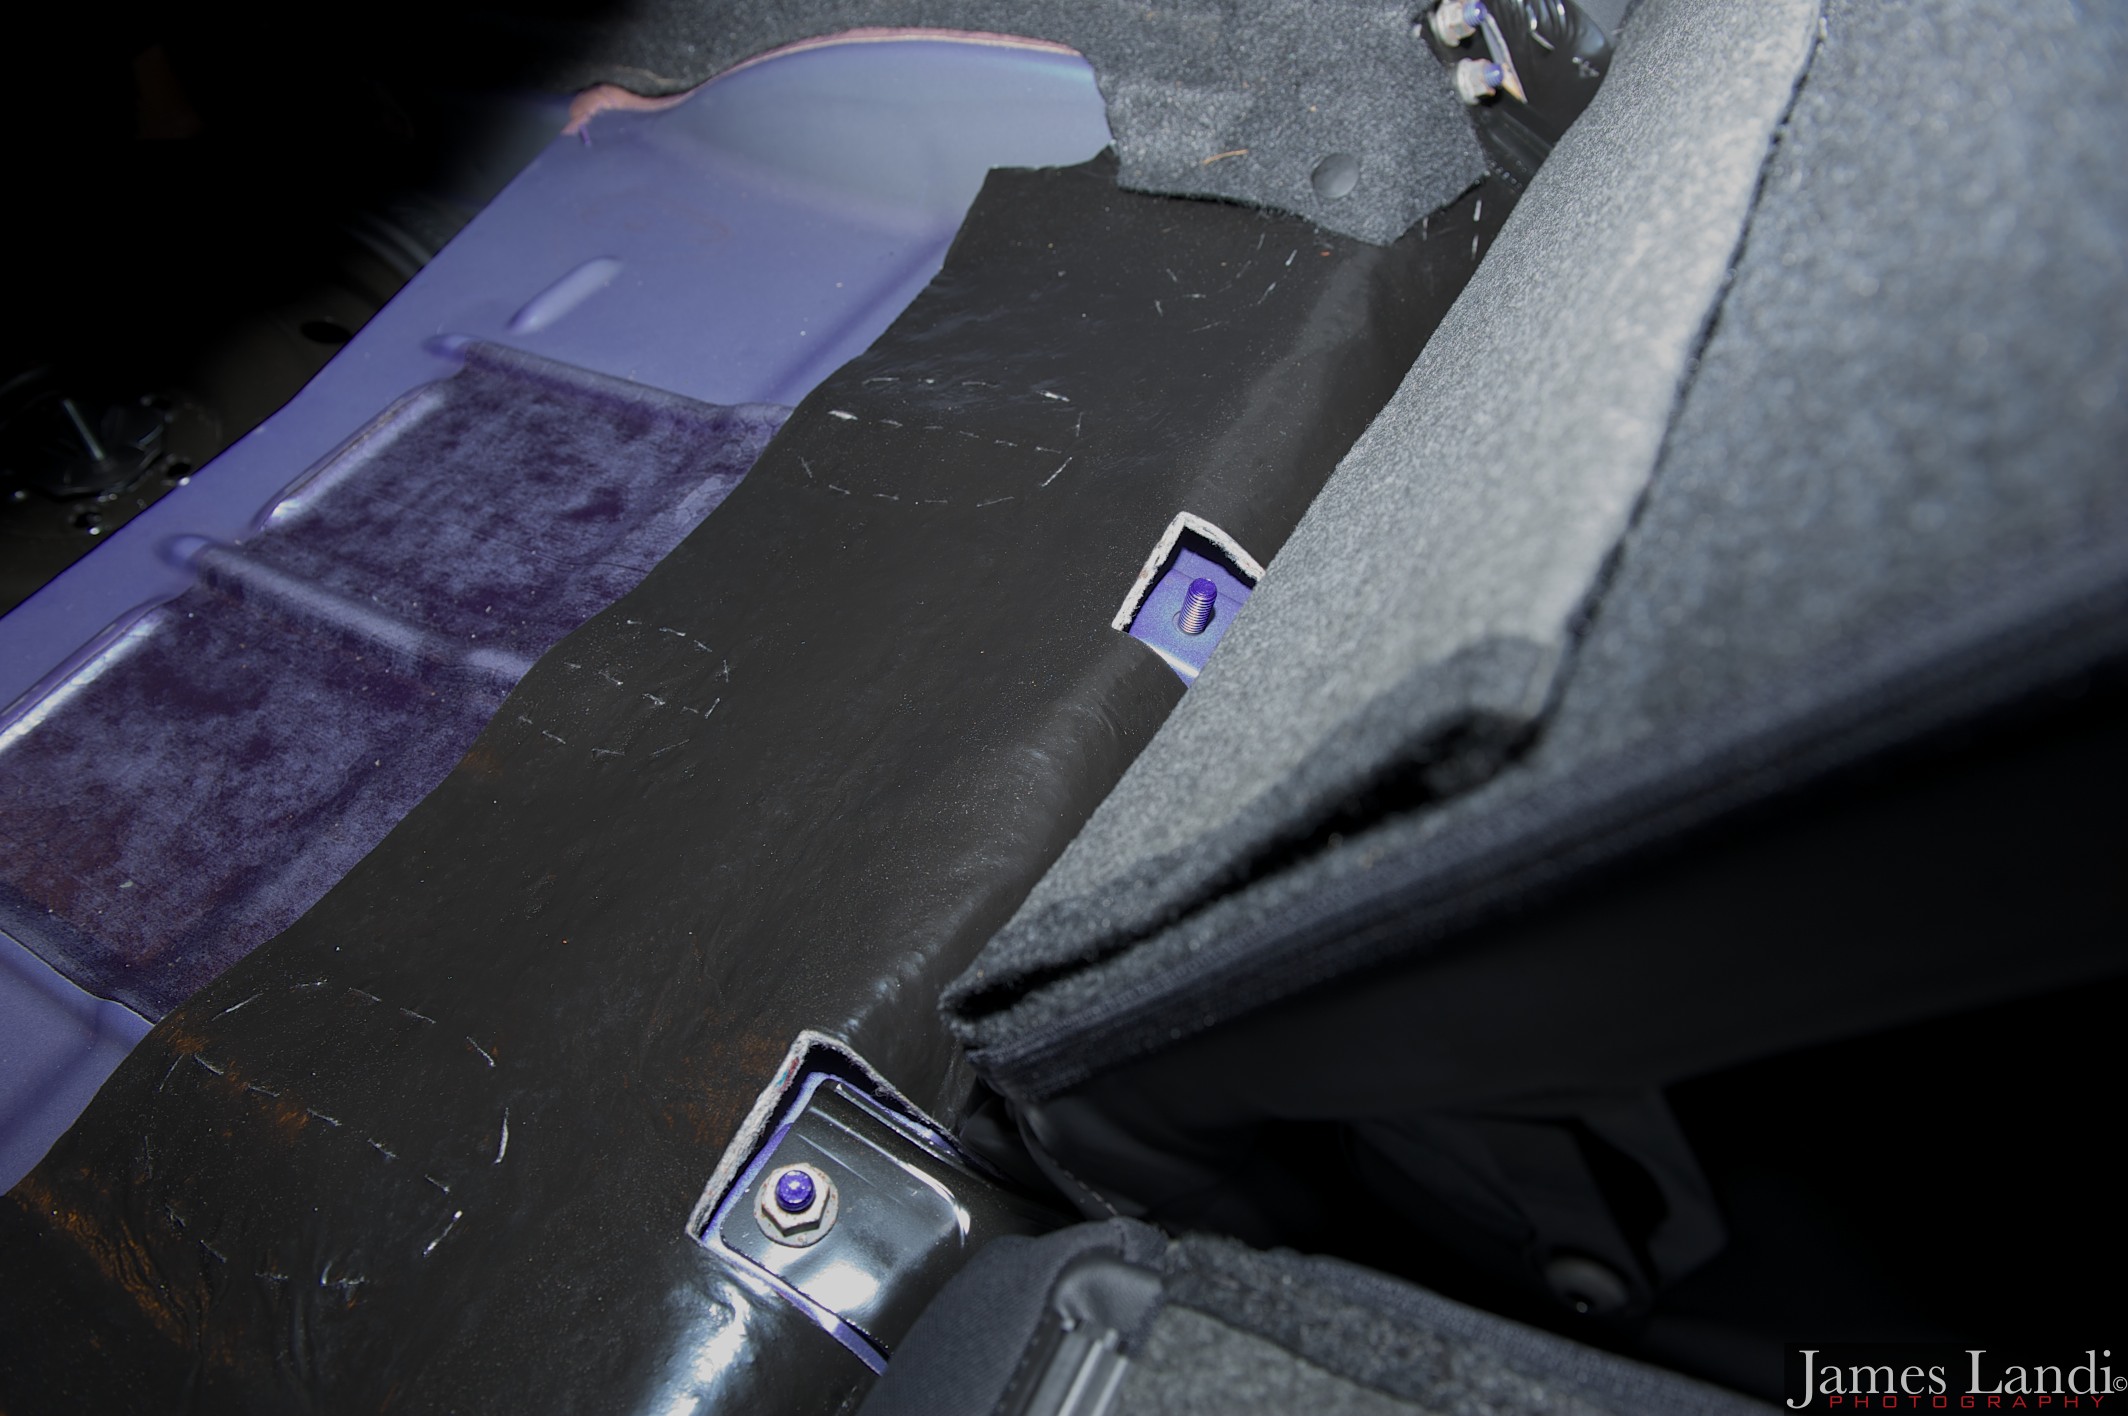
 Remove the one nut holding the rear seat in place, yes Dodge only uses one nut, hence the reason Petty’s supplies you with only one seat nut with it’s brace.
 Once this nut is removed you can carefully place the brace over these two seat back hinge studs, first. Then slide the brace over your existing strut tower studs. You will be using the included cup retainers over the strut’s bolts.
 Place the two nuts over the seat hinges and only hand tighten them for now
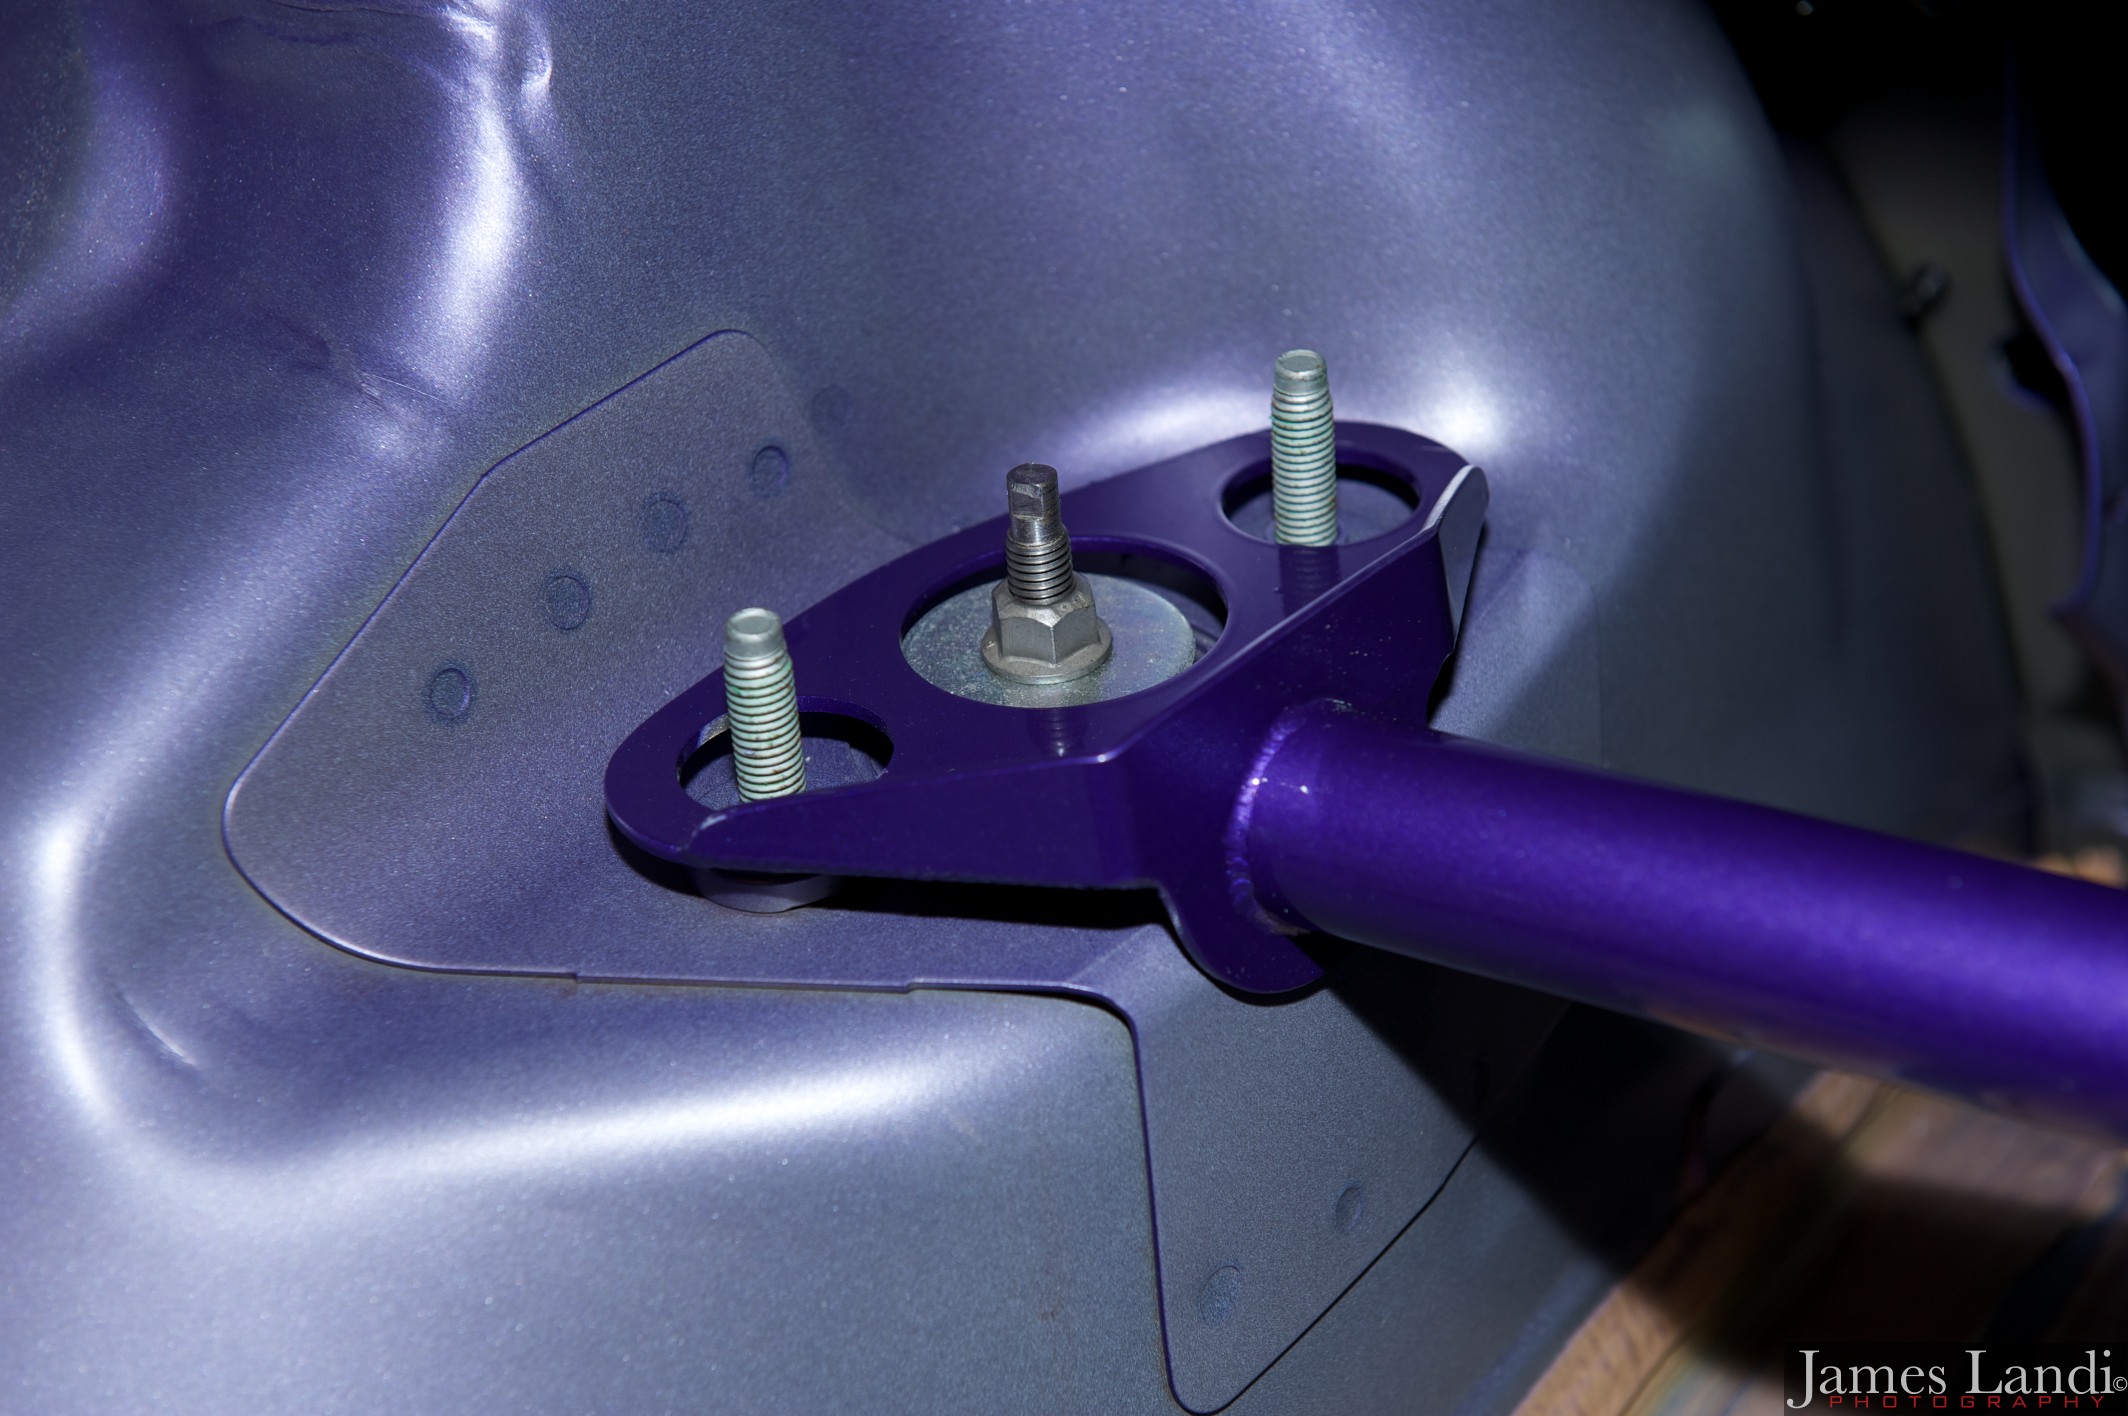
Place both cup retainers and bolts onto the strut’s studs (Thanks to Yahooligan over at Challengertalk.com, for noticing that I had the cups upside down in the picture below – also the picture below does not show the brace completely tightened onto the studs – as he mentioned it should be flush)
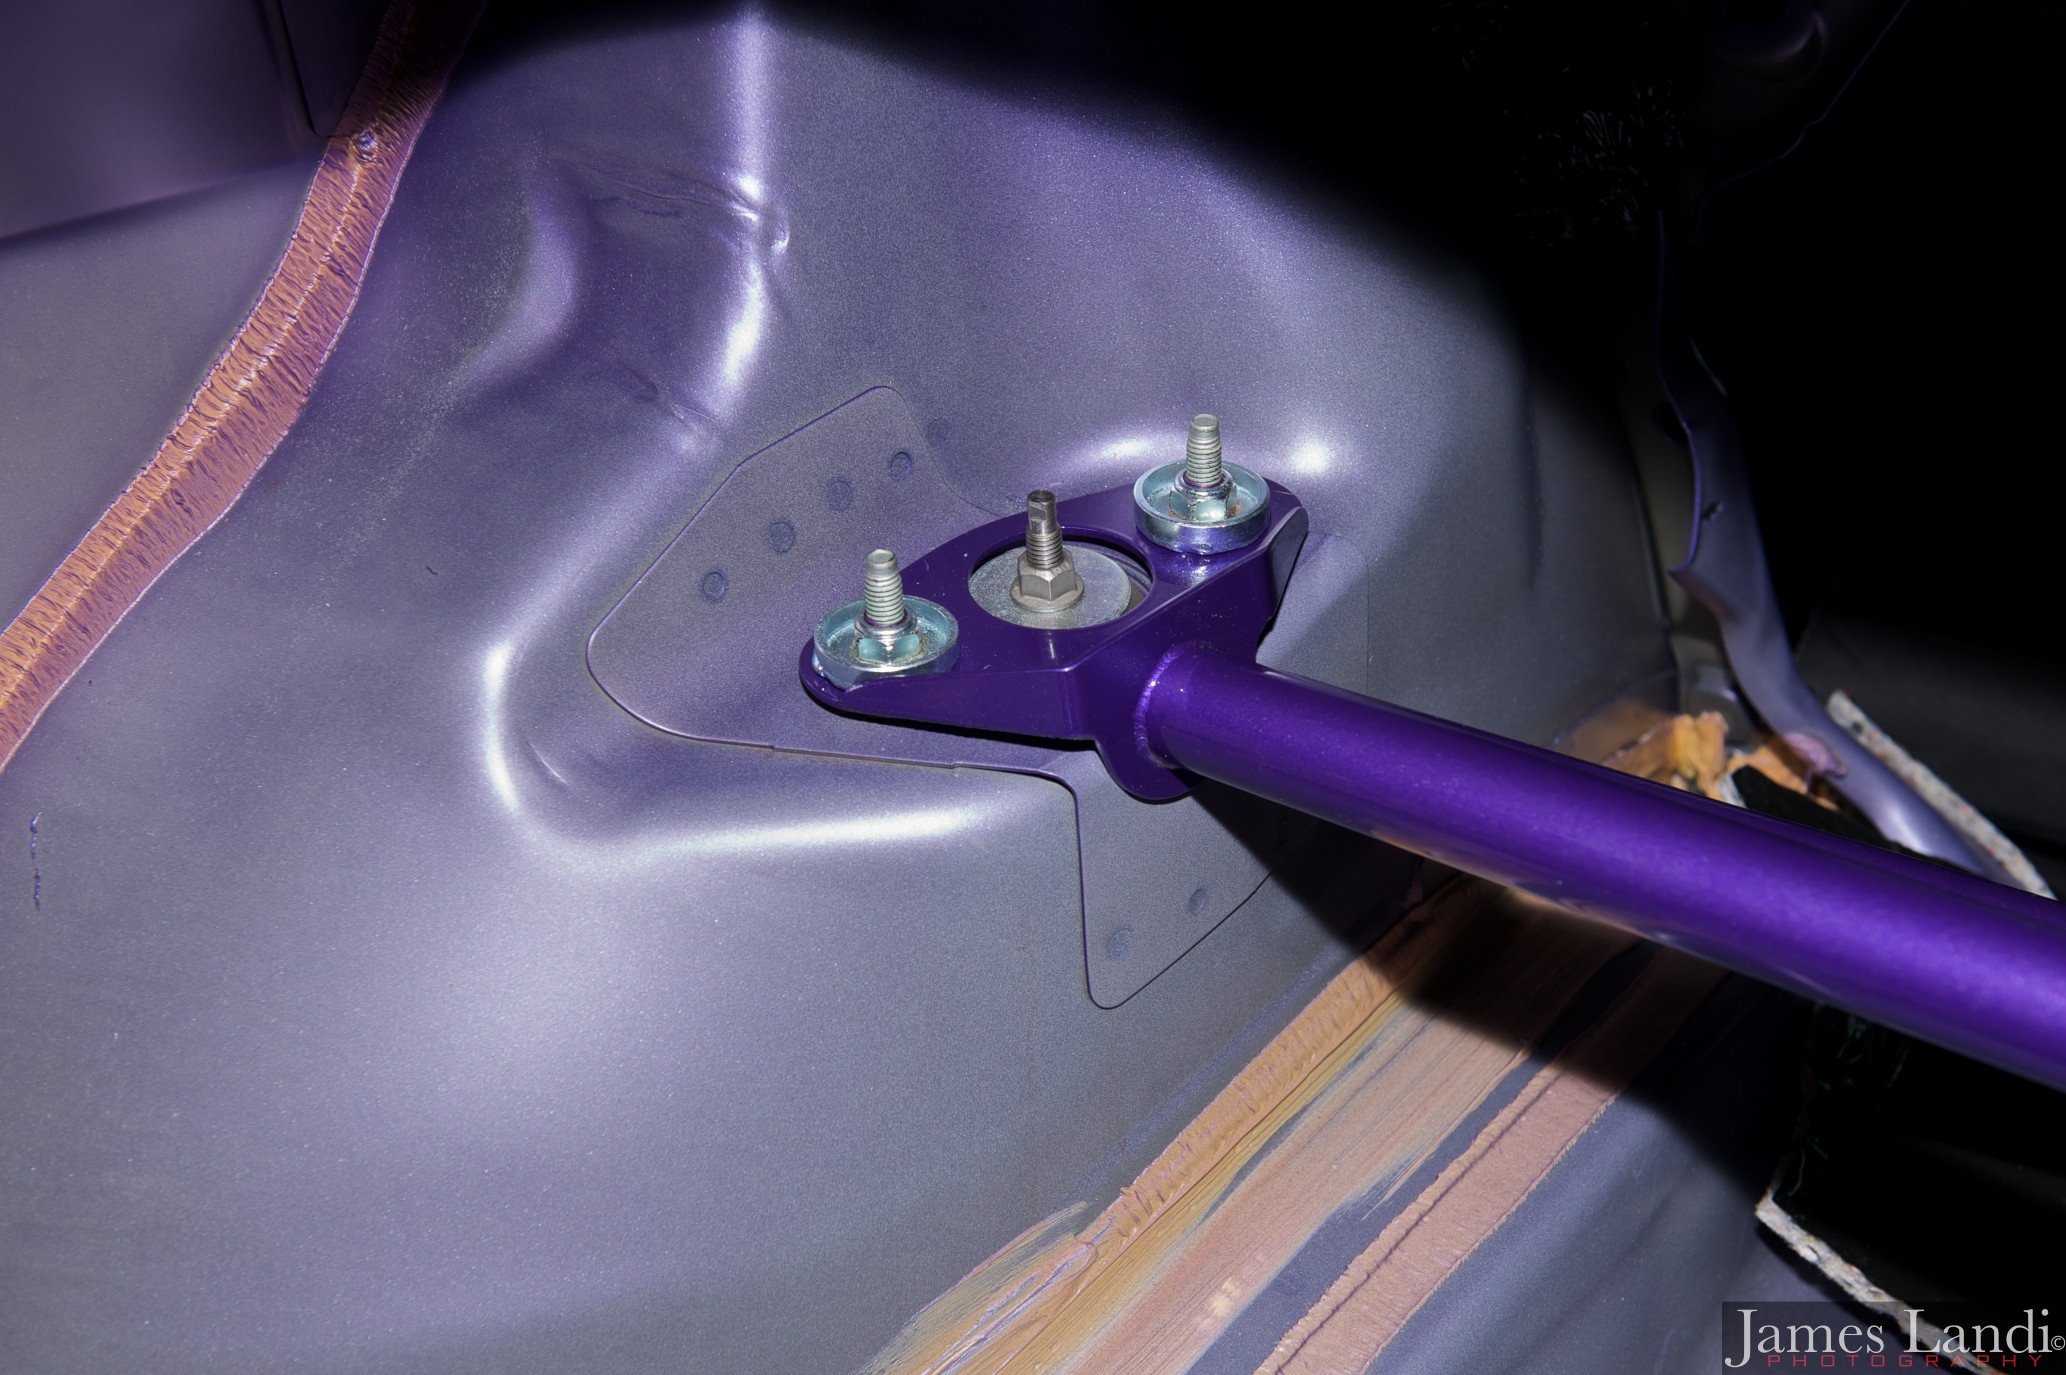 You will want to torque the rear shock nuts to 35 foot pounds and the seat mounted bolts to 45 foot pounds.
Now on to the hardest part, cutting out the trunk finish pieces to complete the installation
Petty’s supplies you with only two templates and at first it’s a little confusing as you think you need three templates. You’re going to reuse the drivers sided template in reverse for the passenger side.
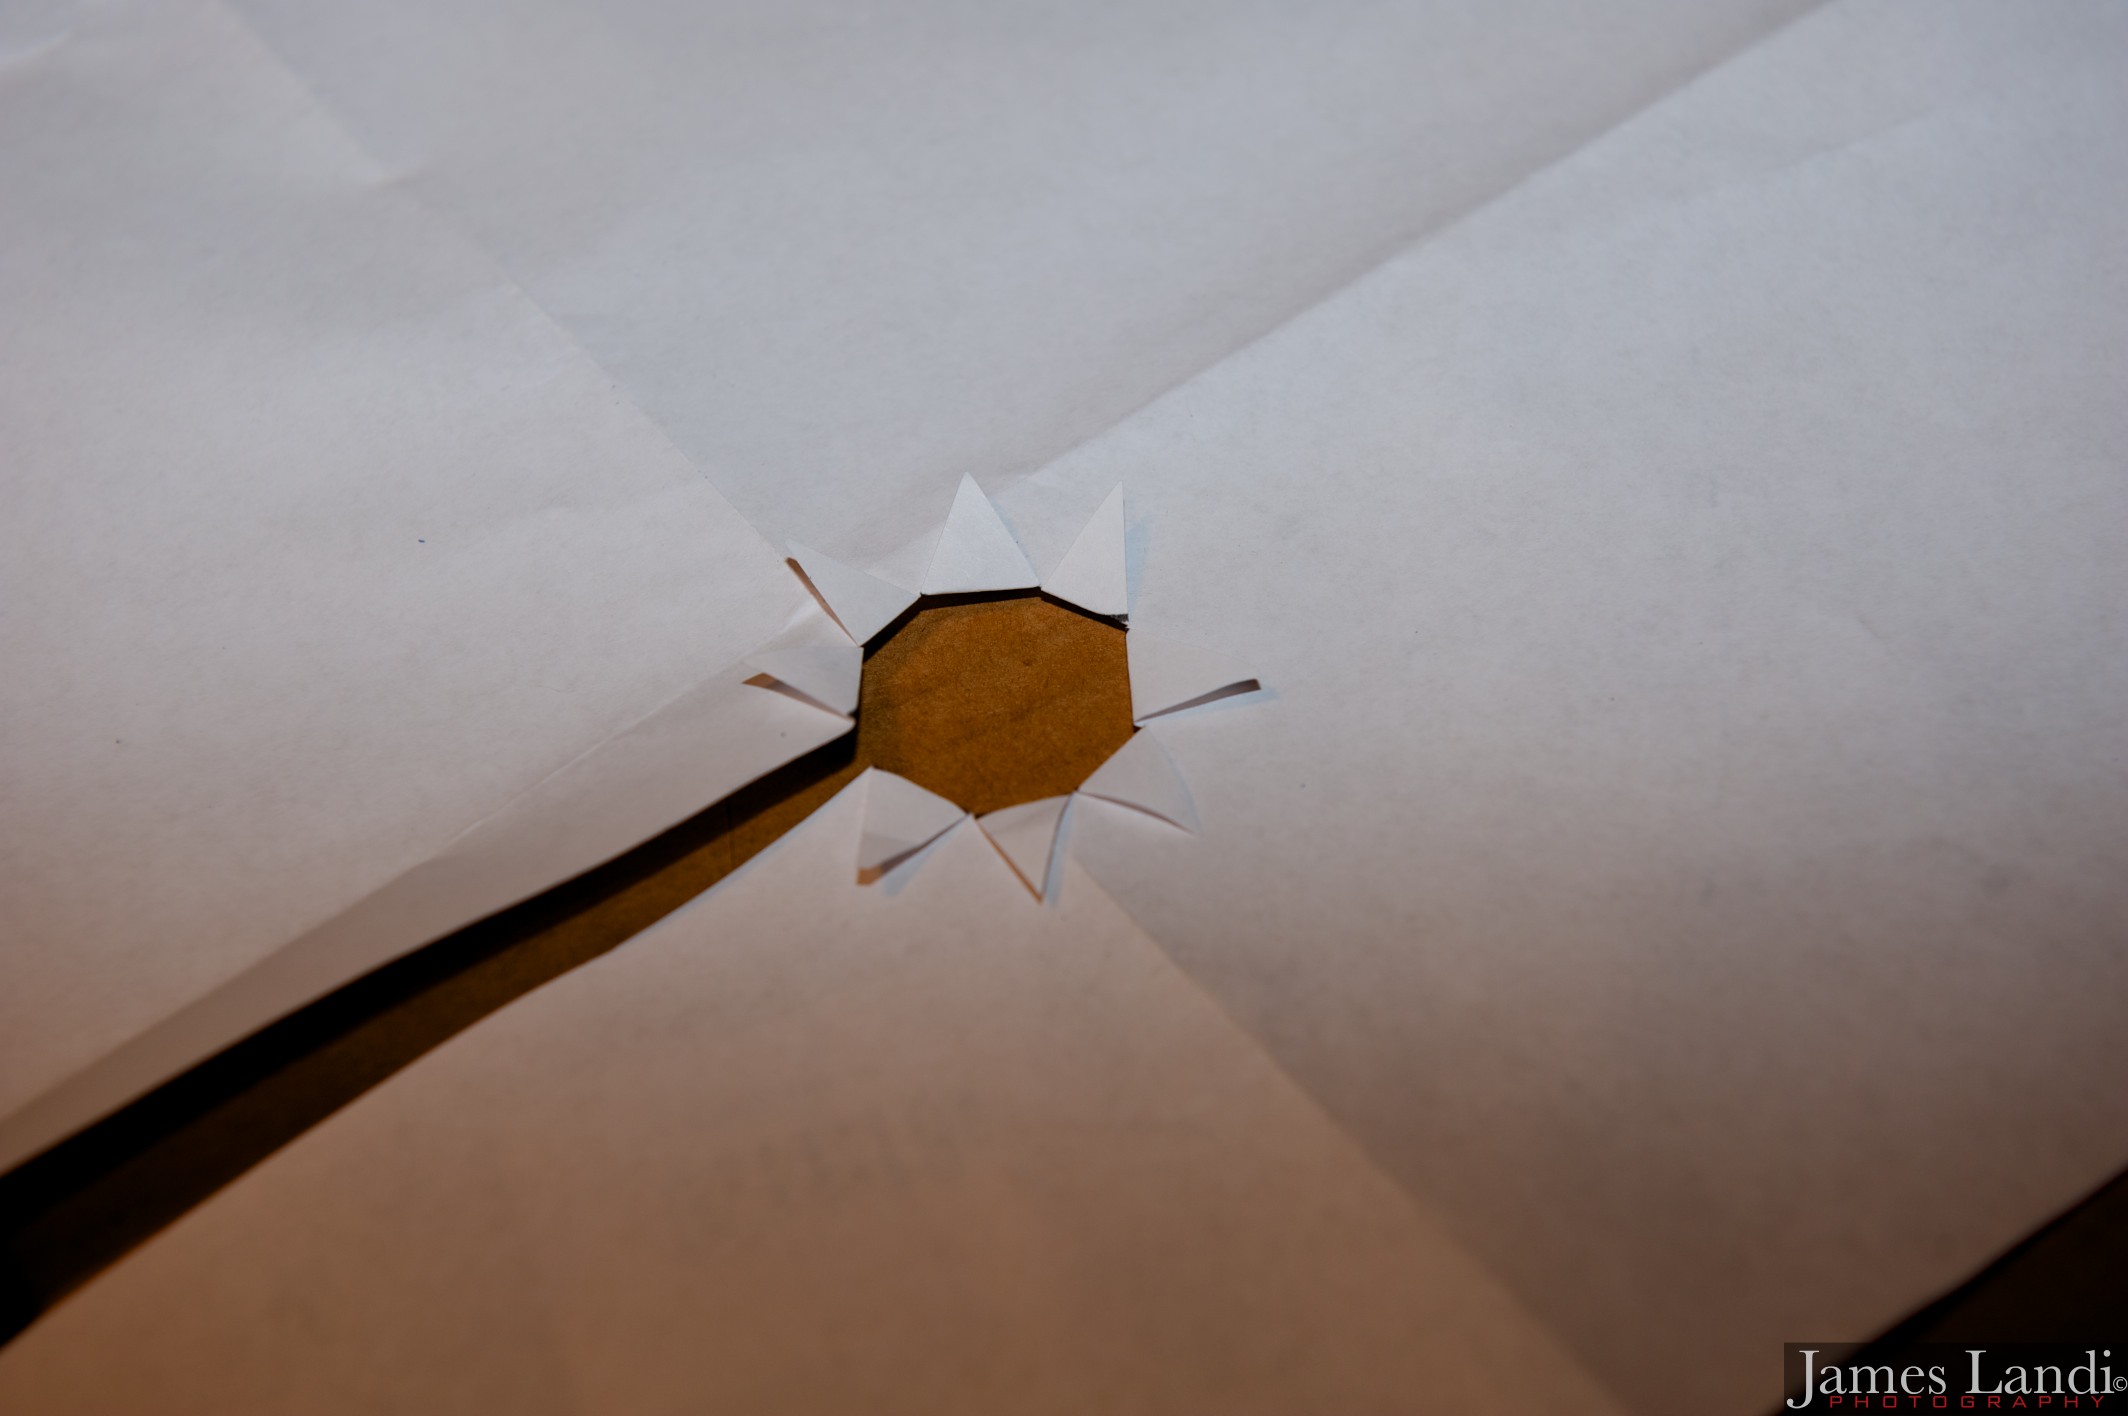
Before using the template you will want to trim it to size. A little tip for cutting out the round hold in the center of the template is to only cut radius cuts as shown below, then tape the “pie slices” back and out of the way.
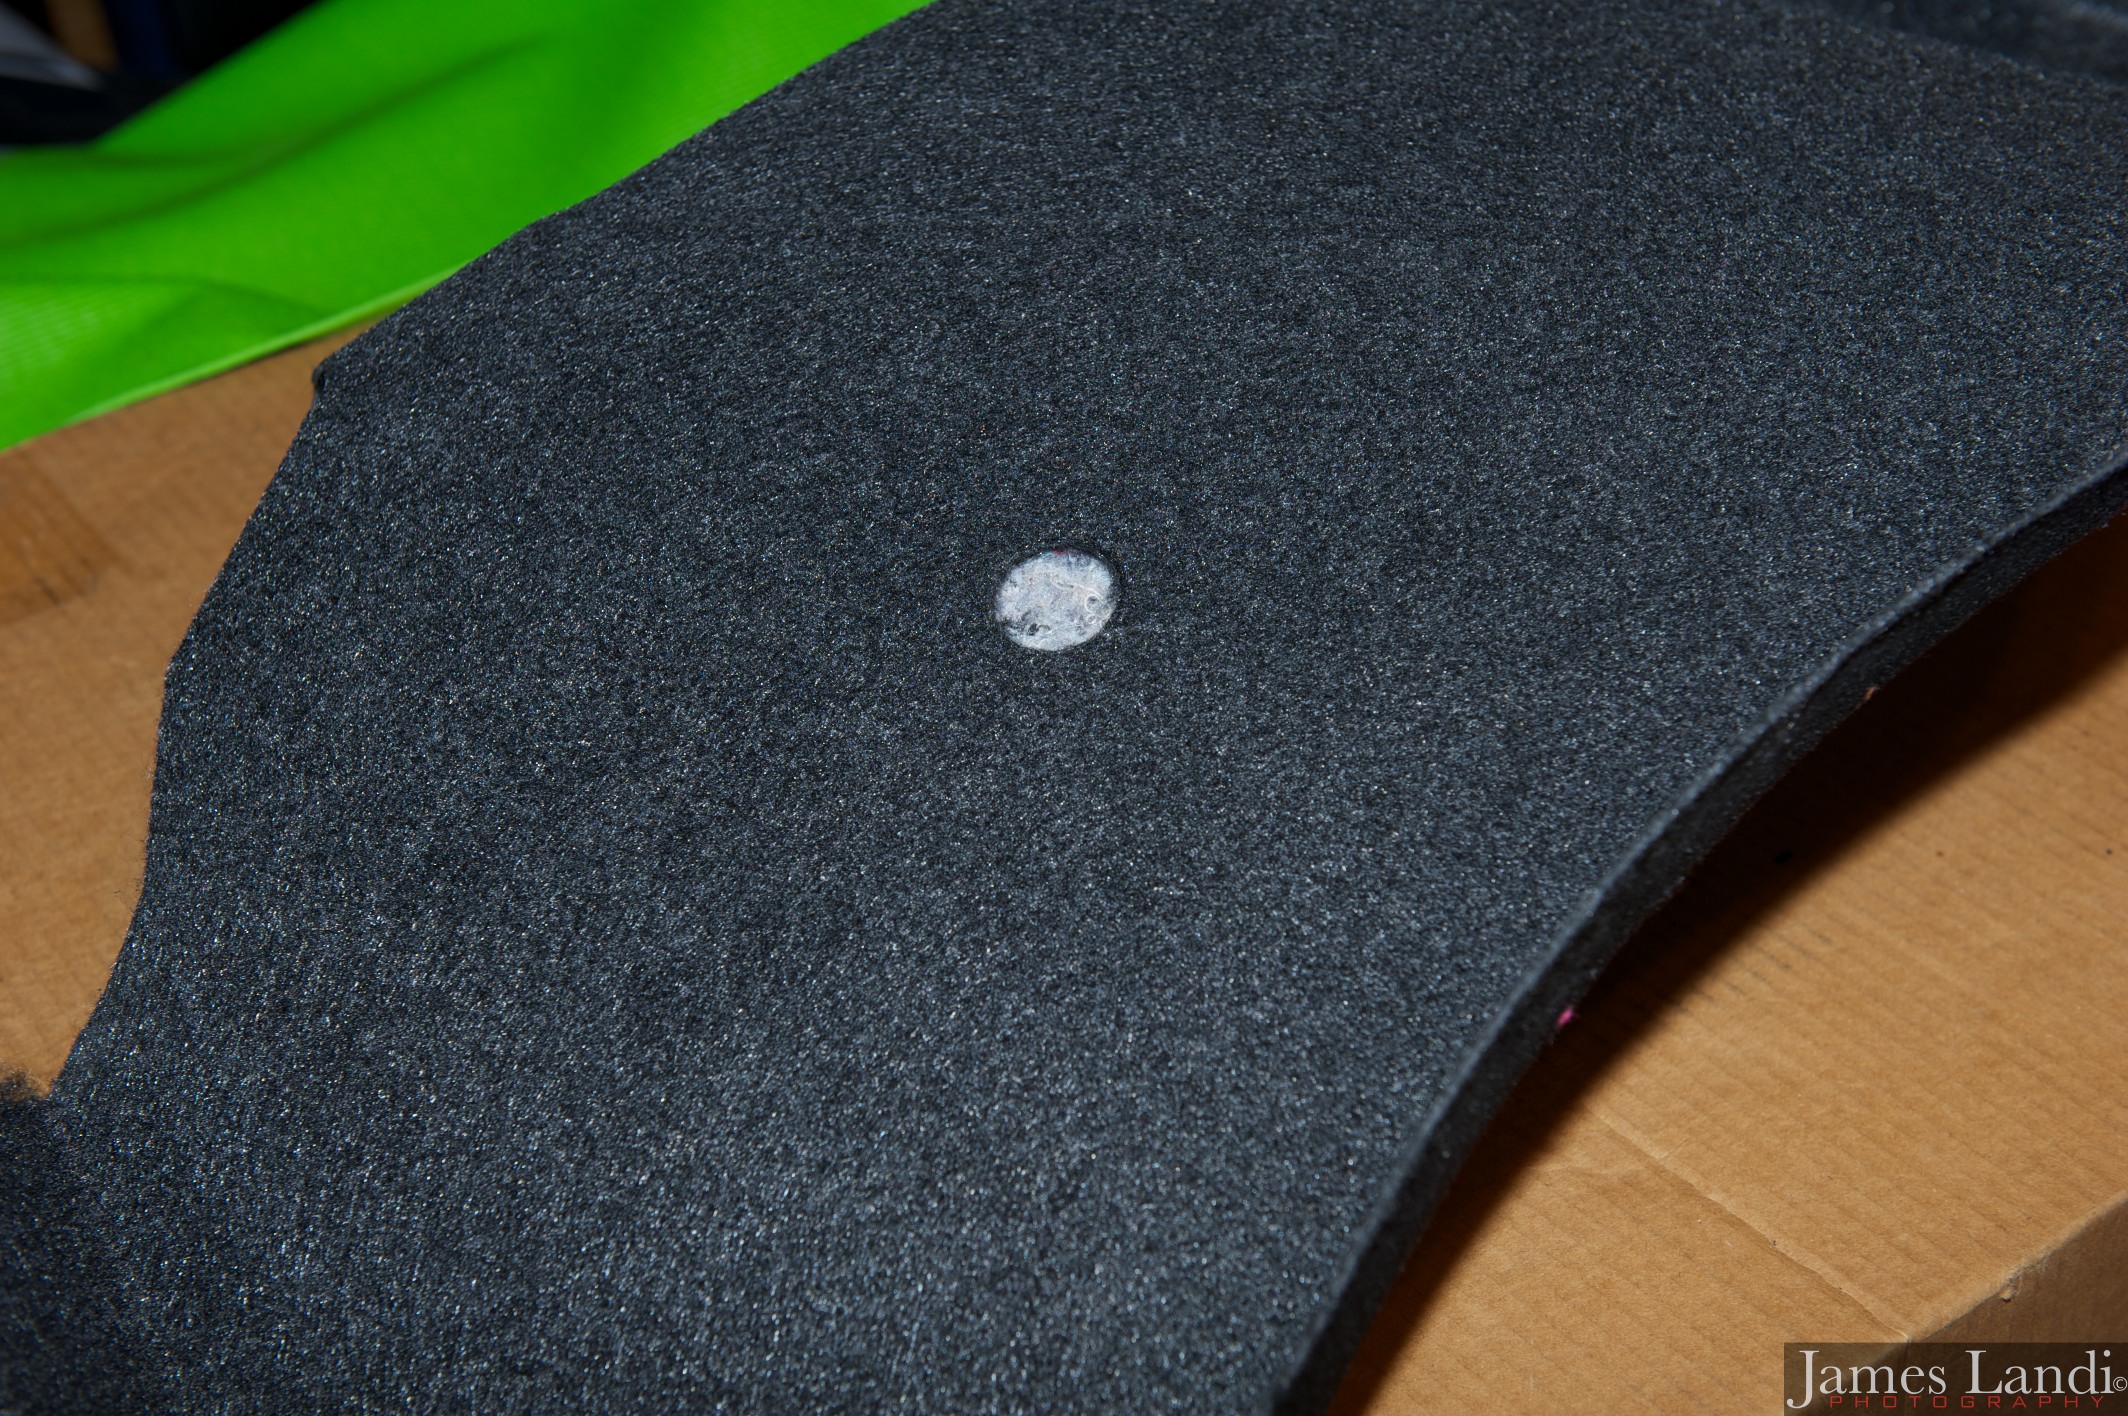
 Once the templates are cut out and ready to use, I held them in place with blue painters tape. First make you round hole cut. I made mine with a 1 1/4″ round hole cut bit, attached to my drill. Make sure you only cut through the outer material and not the insulation.
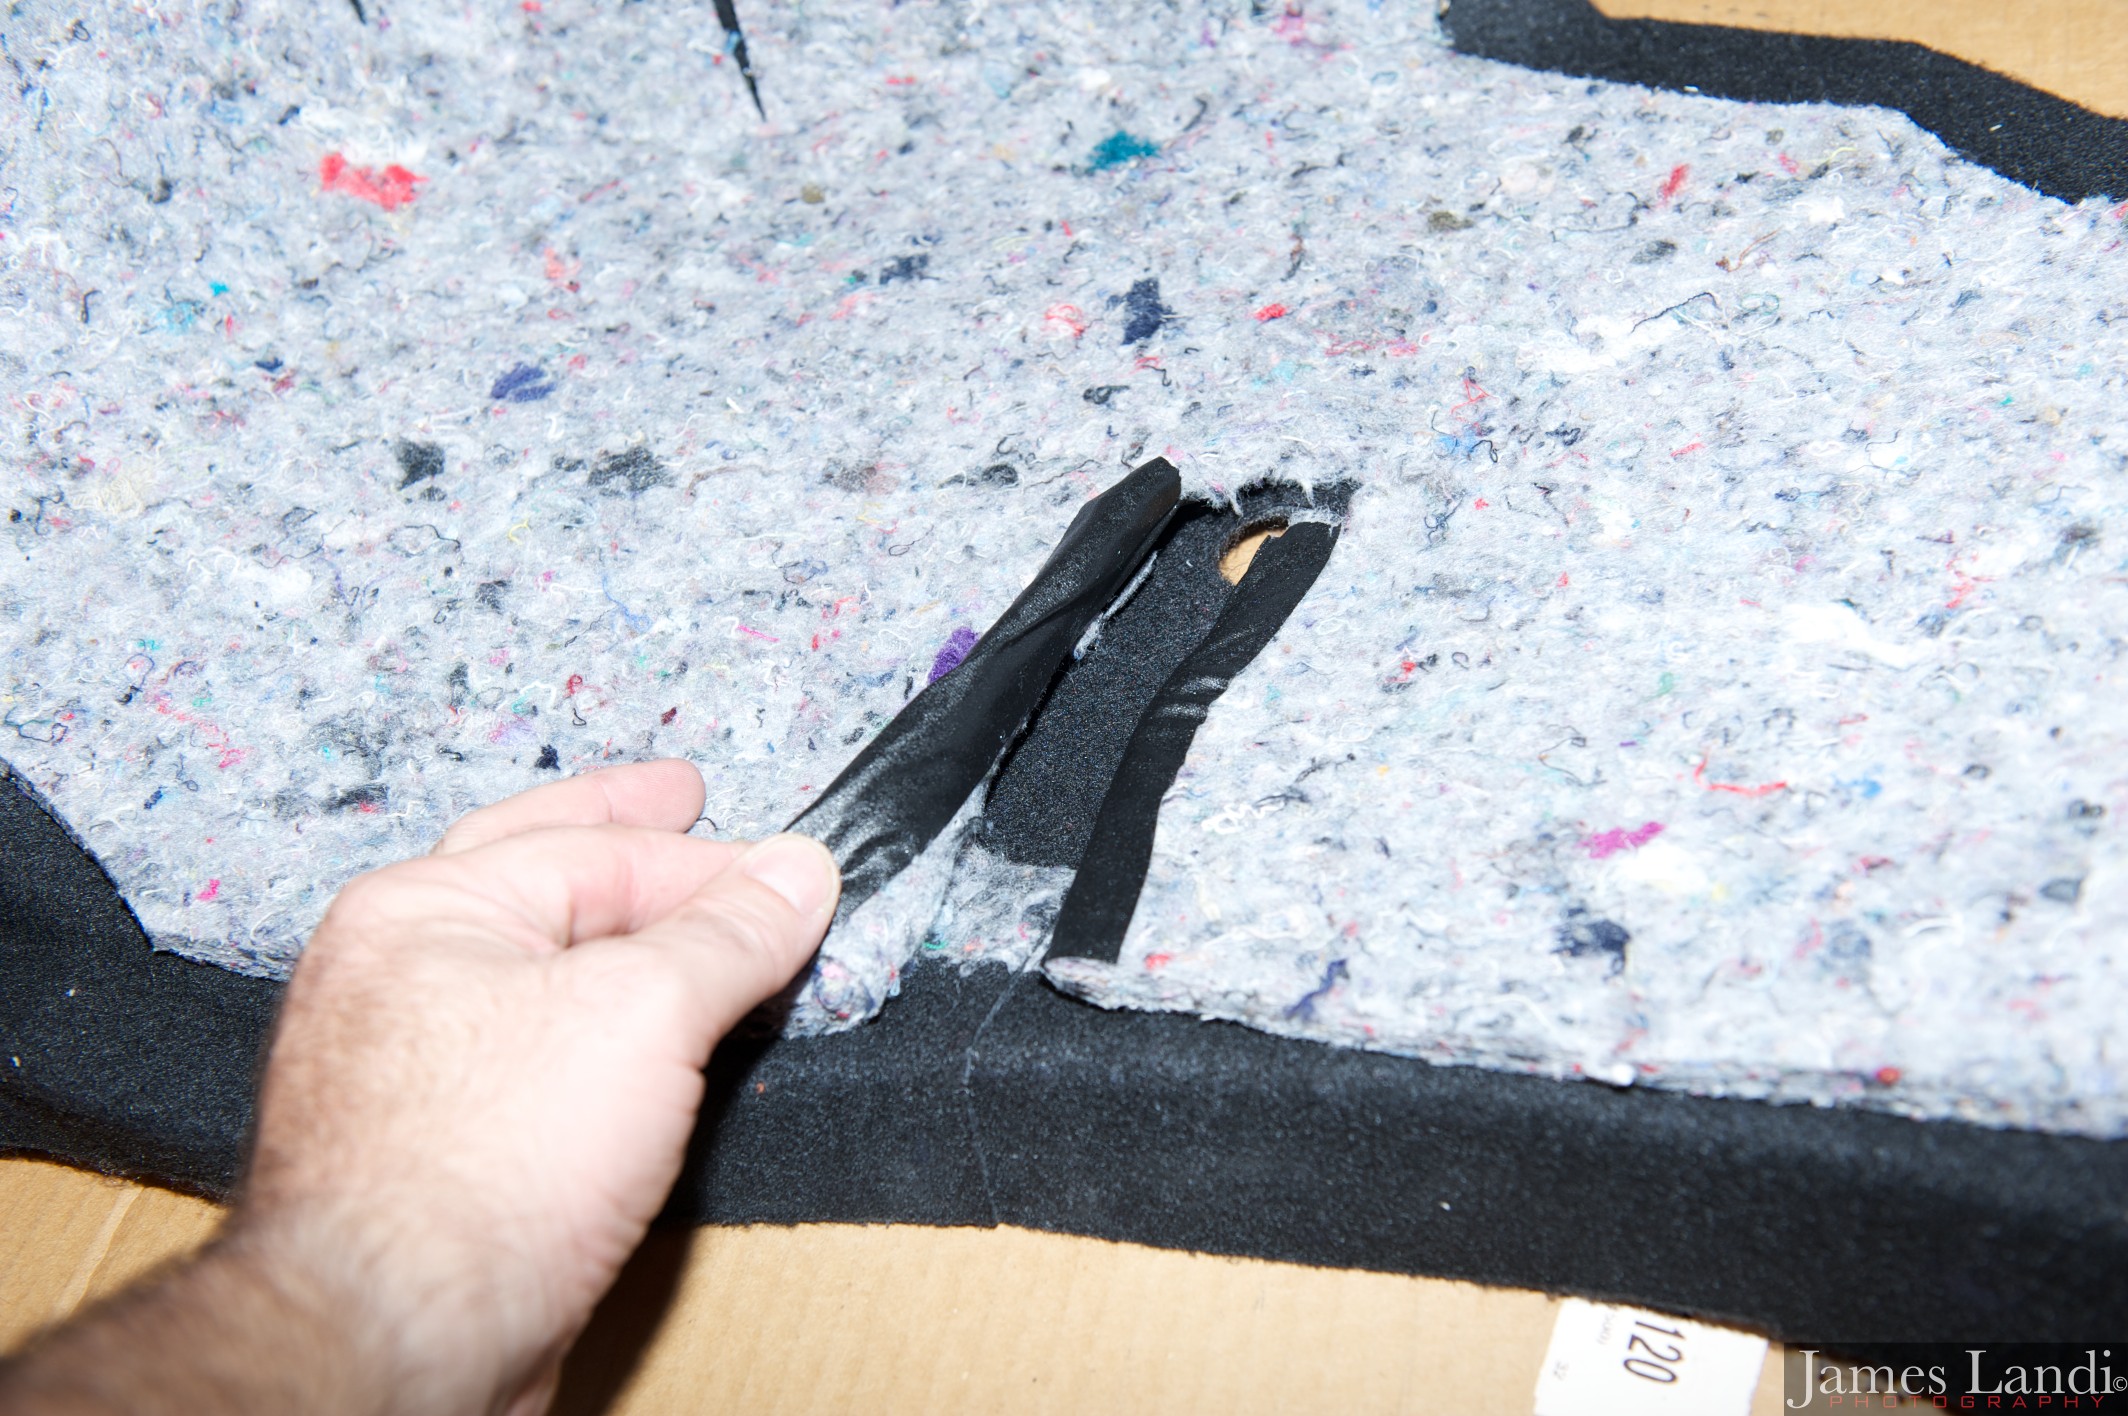
Once the hole is cut, line up a straight and plum vertical line (I used my blue painters tape as a guide) and cut with a good set of scissors. Again cutting through the outer material first and then cutting the insulation. Then remove the remaining insulation that’s behind the round hole you just cut.
I also added some black gaffers tape to the inside edge of the insulation so the threads wouldn’t show through the cut line
 Once all your cuts are finished and cleaned up, reinstall both side panels. Remember that the thicker plastic plugs go inside the trunk and the thinker plug goes inside the cabin, behind the seat back.
At this point I also took the time to vacuum any dust and dirt from the spare tire area as well as the three pieces of trim work we are going to be putting back into the truck.
Once the side panels are in place
 You can now move onto the last piece you will need to cut to make way for the brace.
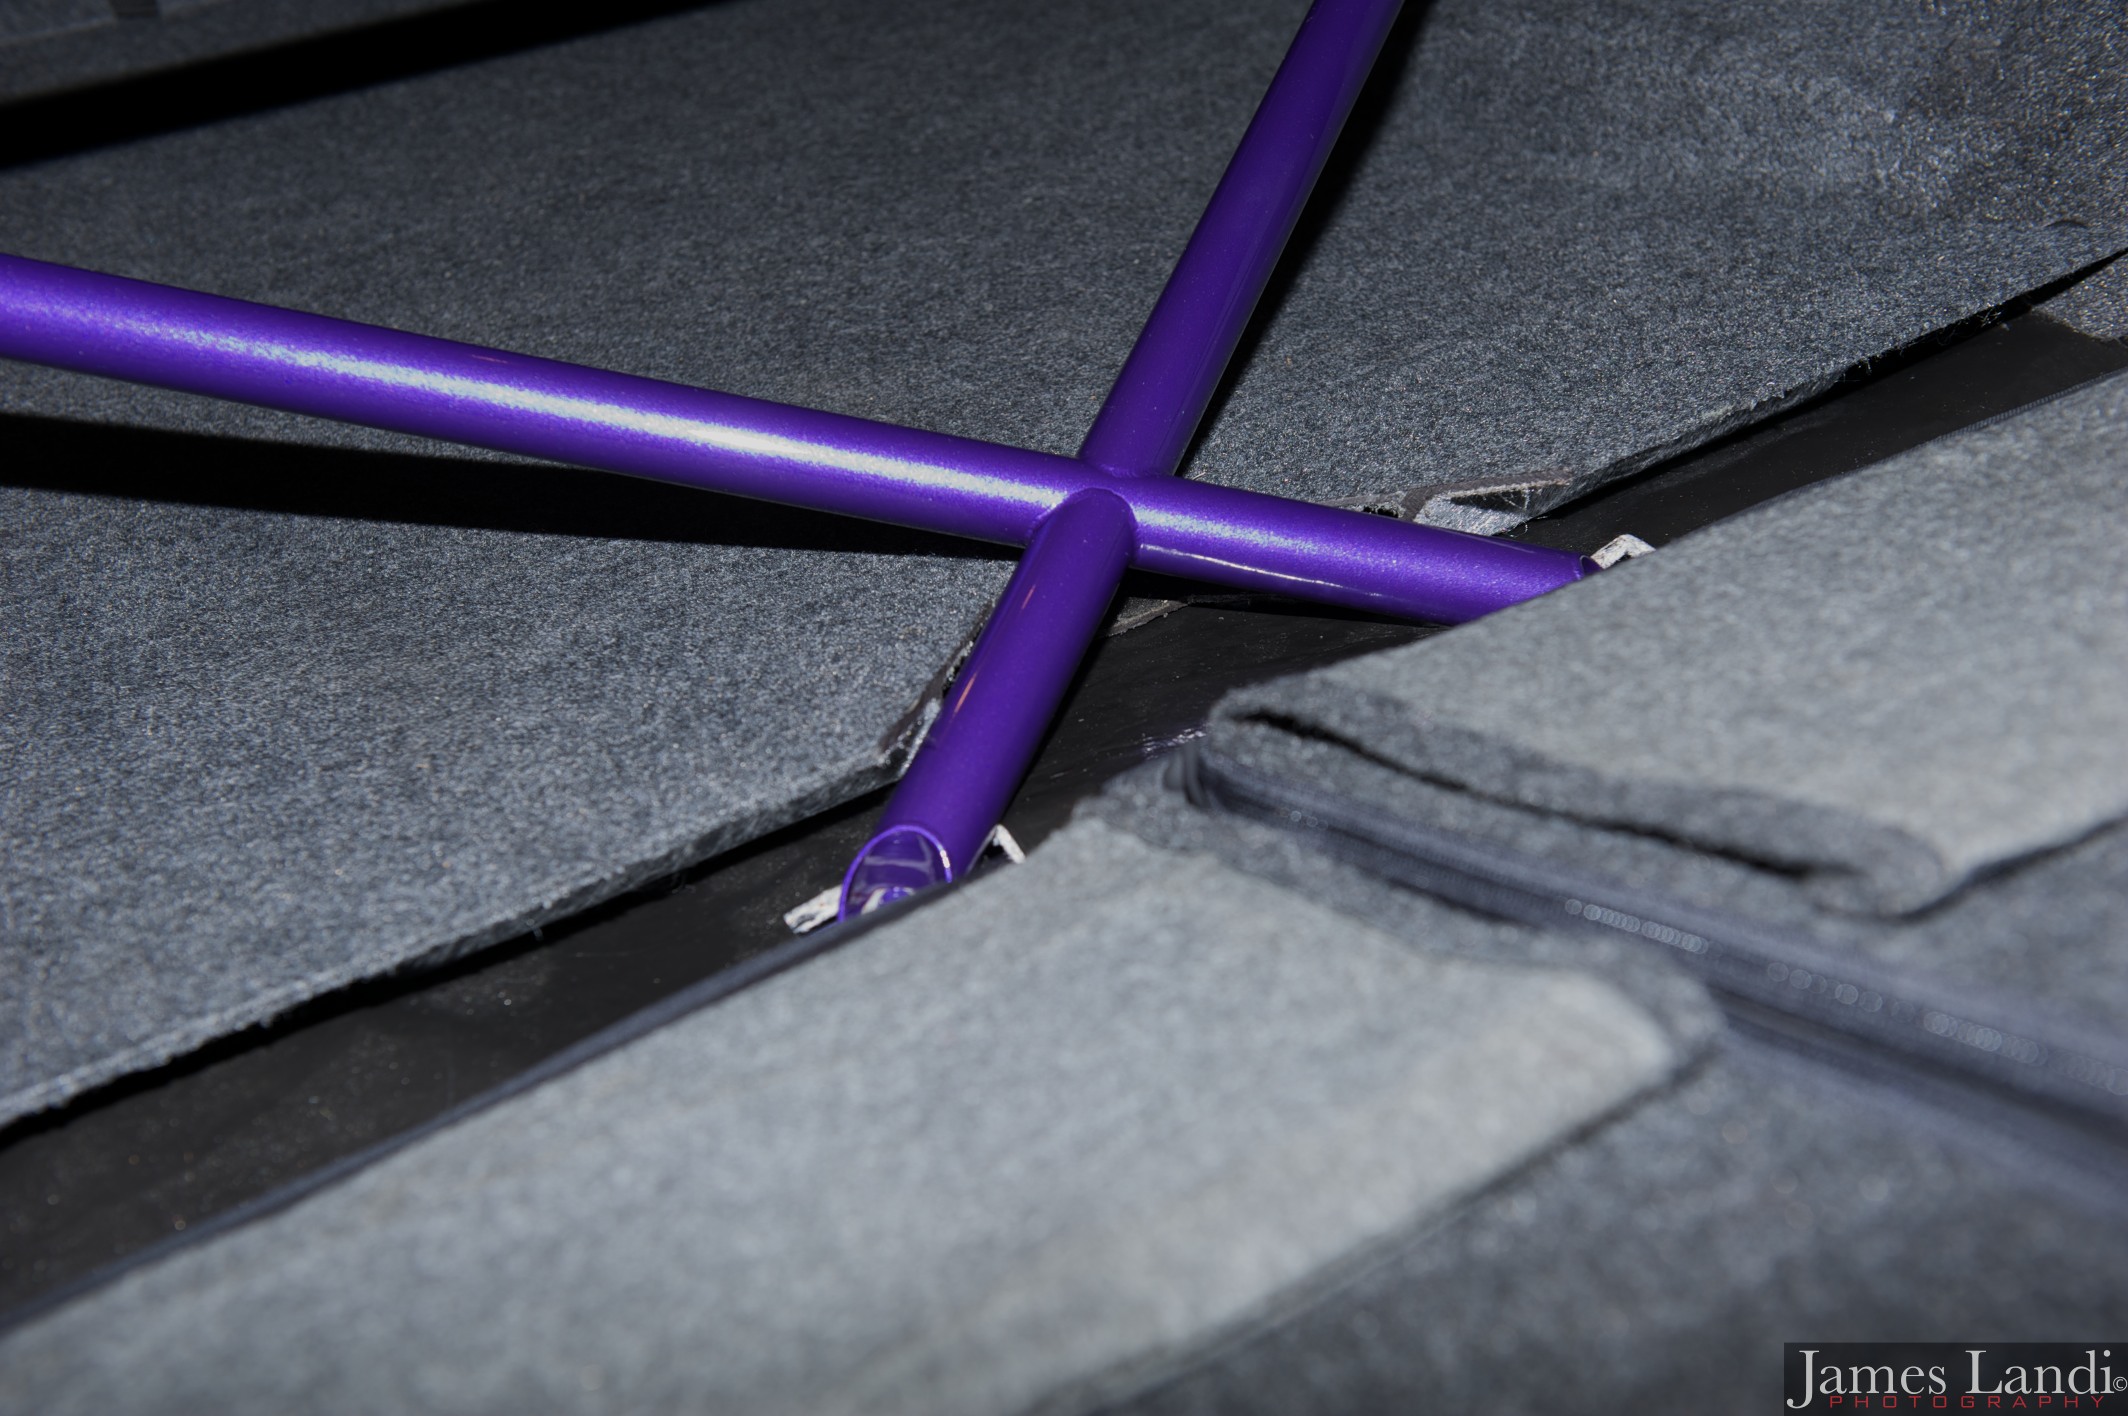
You will have to cut the trunk floor mat to clear the small cross brace where it is attached to the rear seat hinge studs.
I found the easiest and cleanest way to cut this was to use a hack saw with a new blade and then a dremel with cutoff wheel
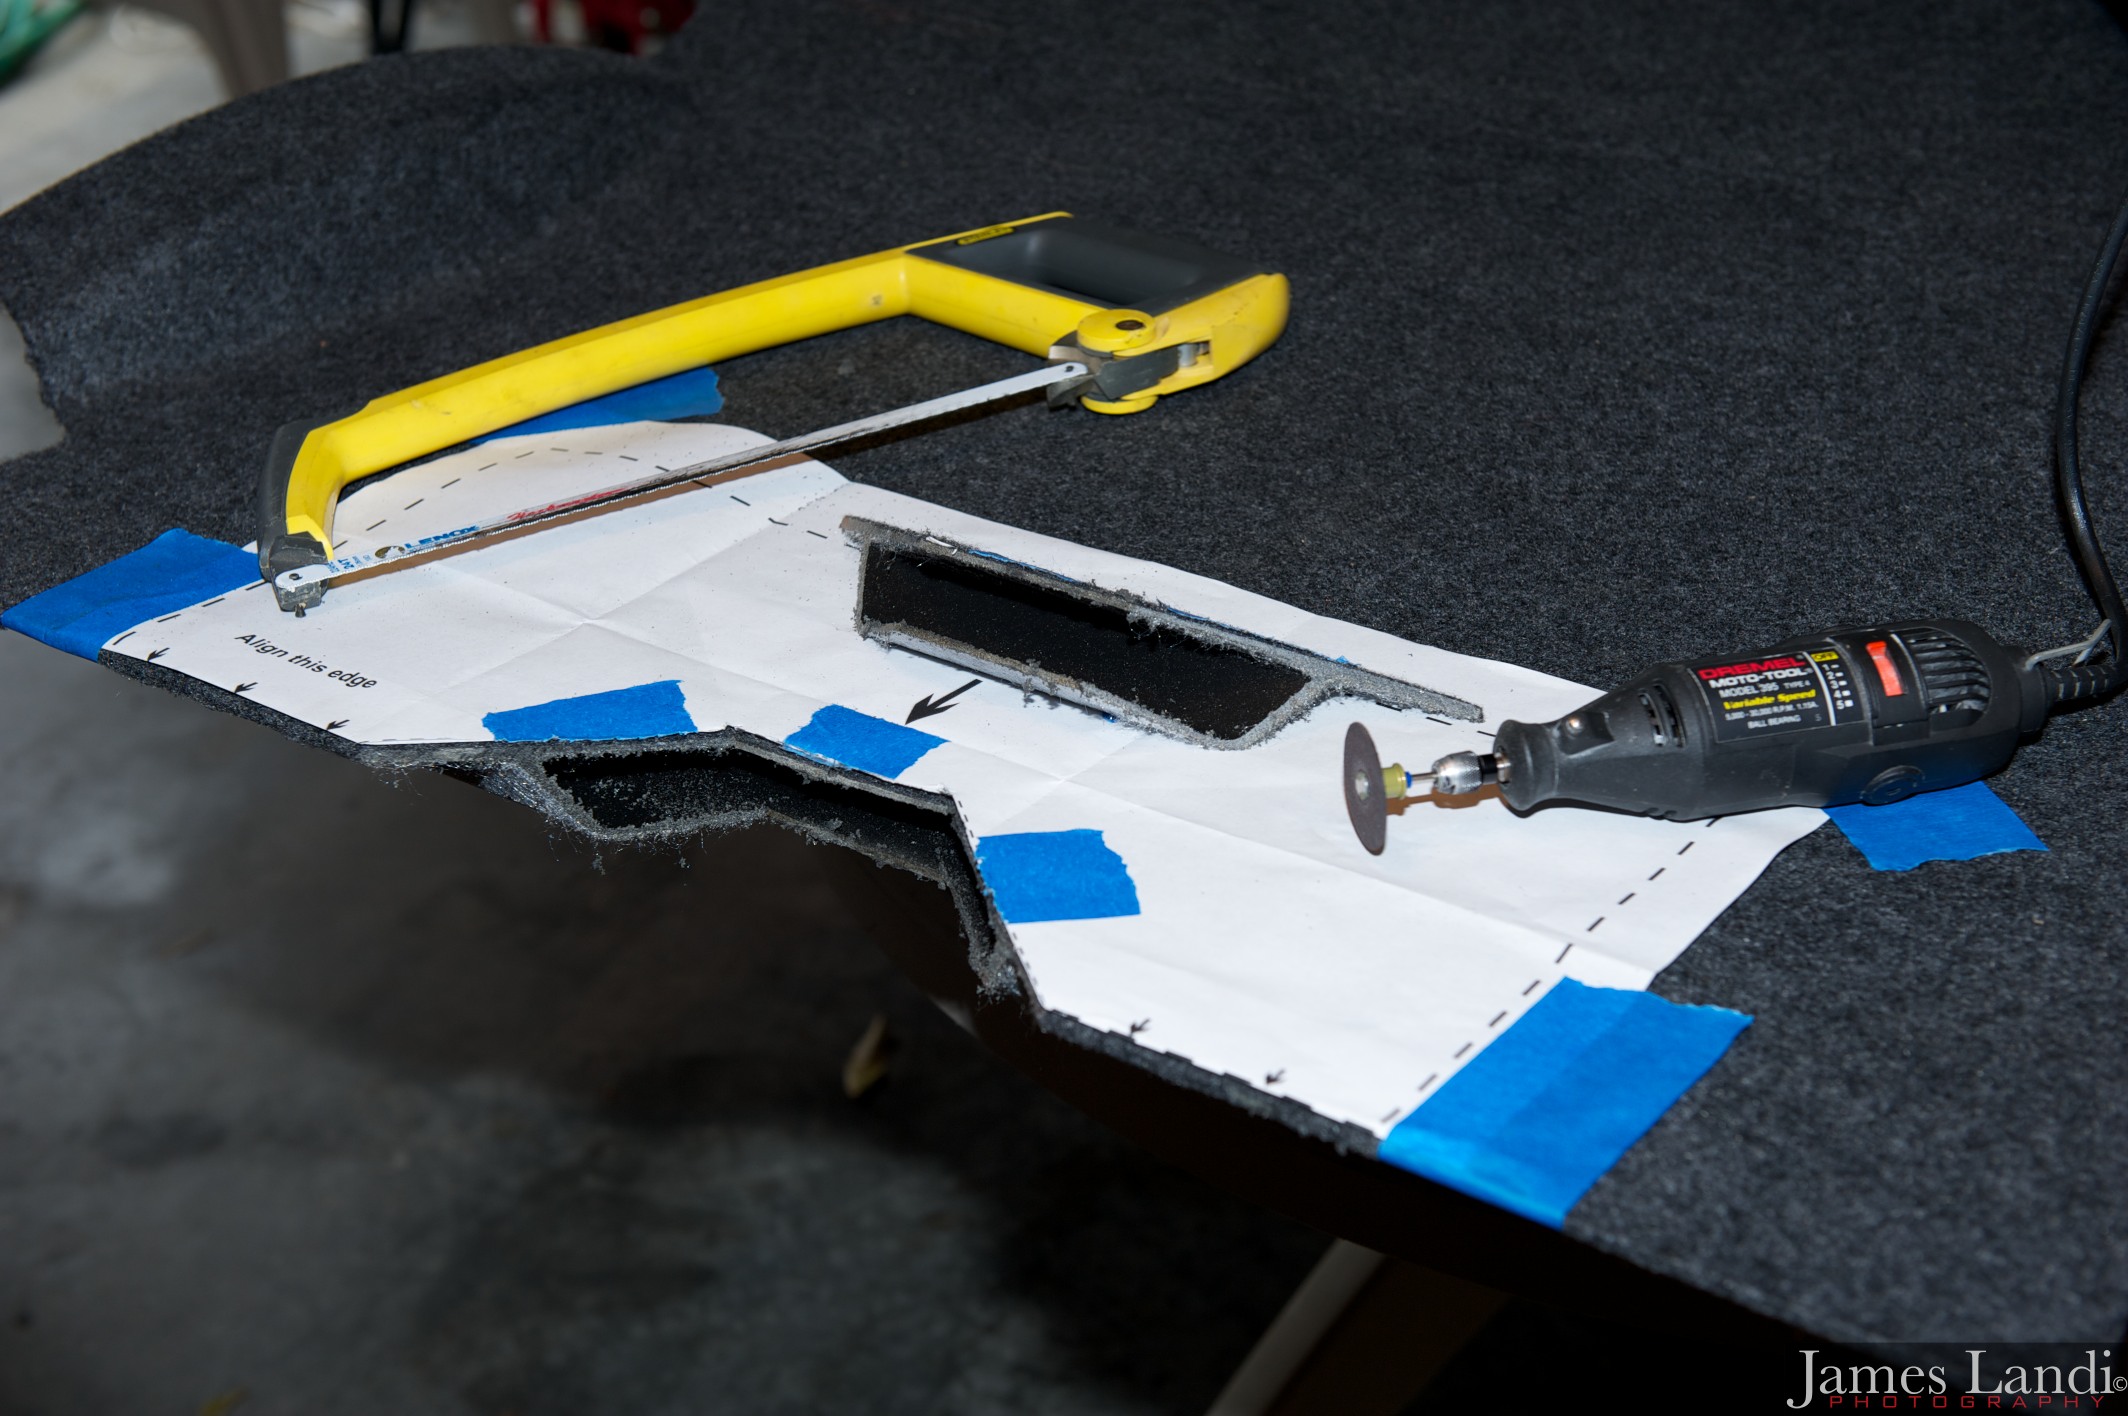 Once cut I used a razor knife to clean up any carpet threads and then a black magic marker to color the area I just cut (make sure you don’t slip and draw a line on the carpet itself (I came close)
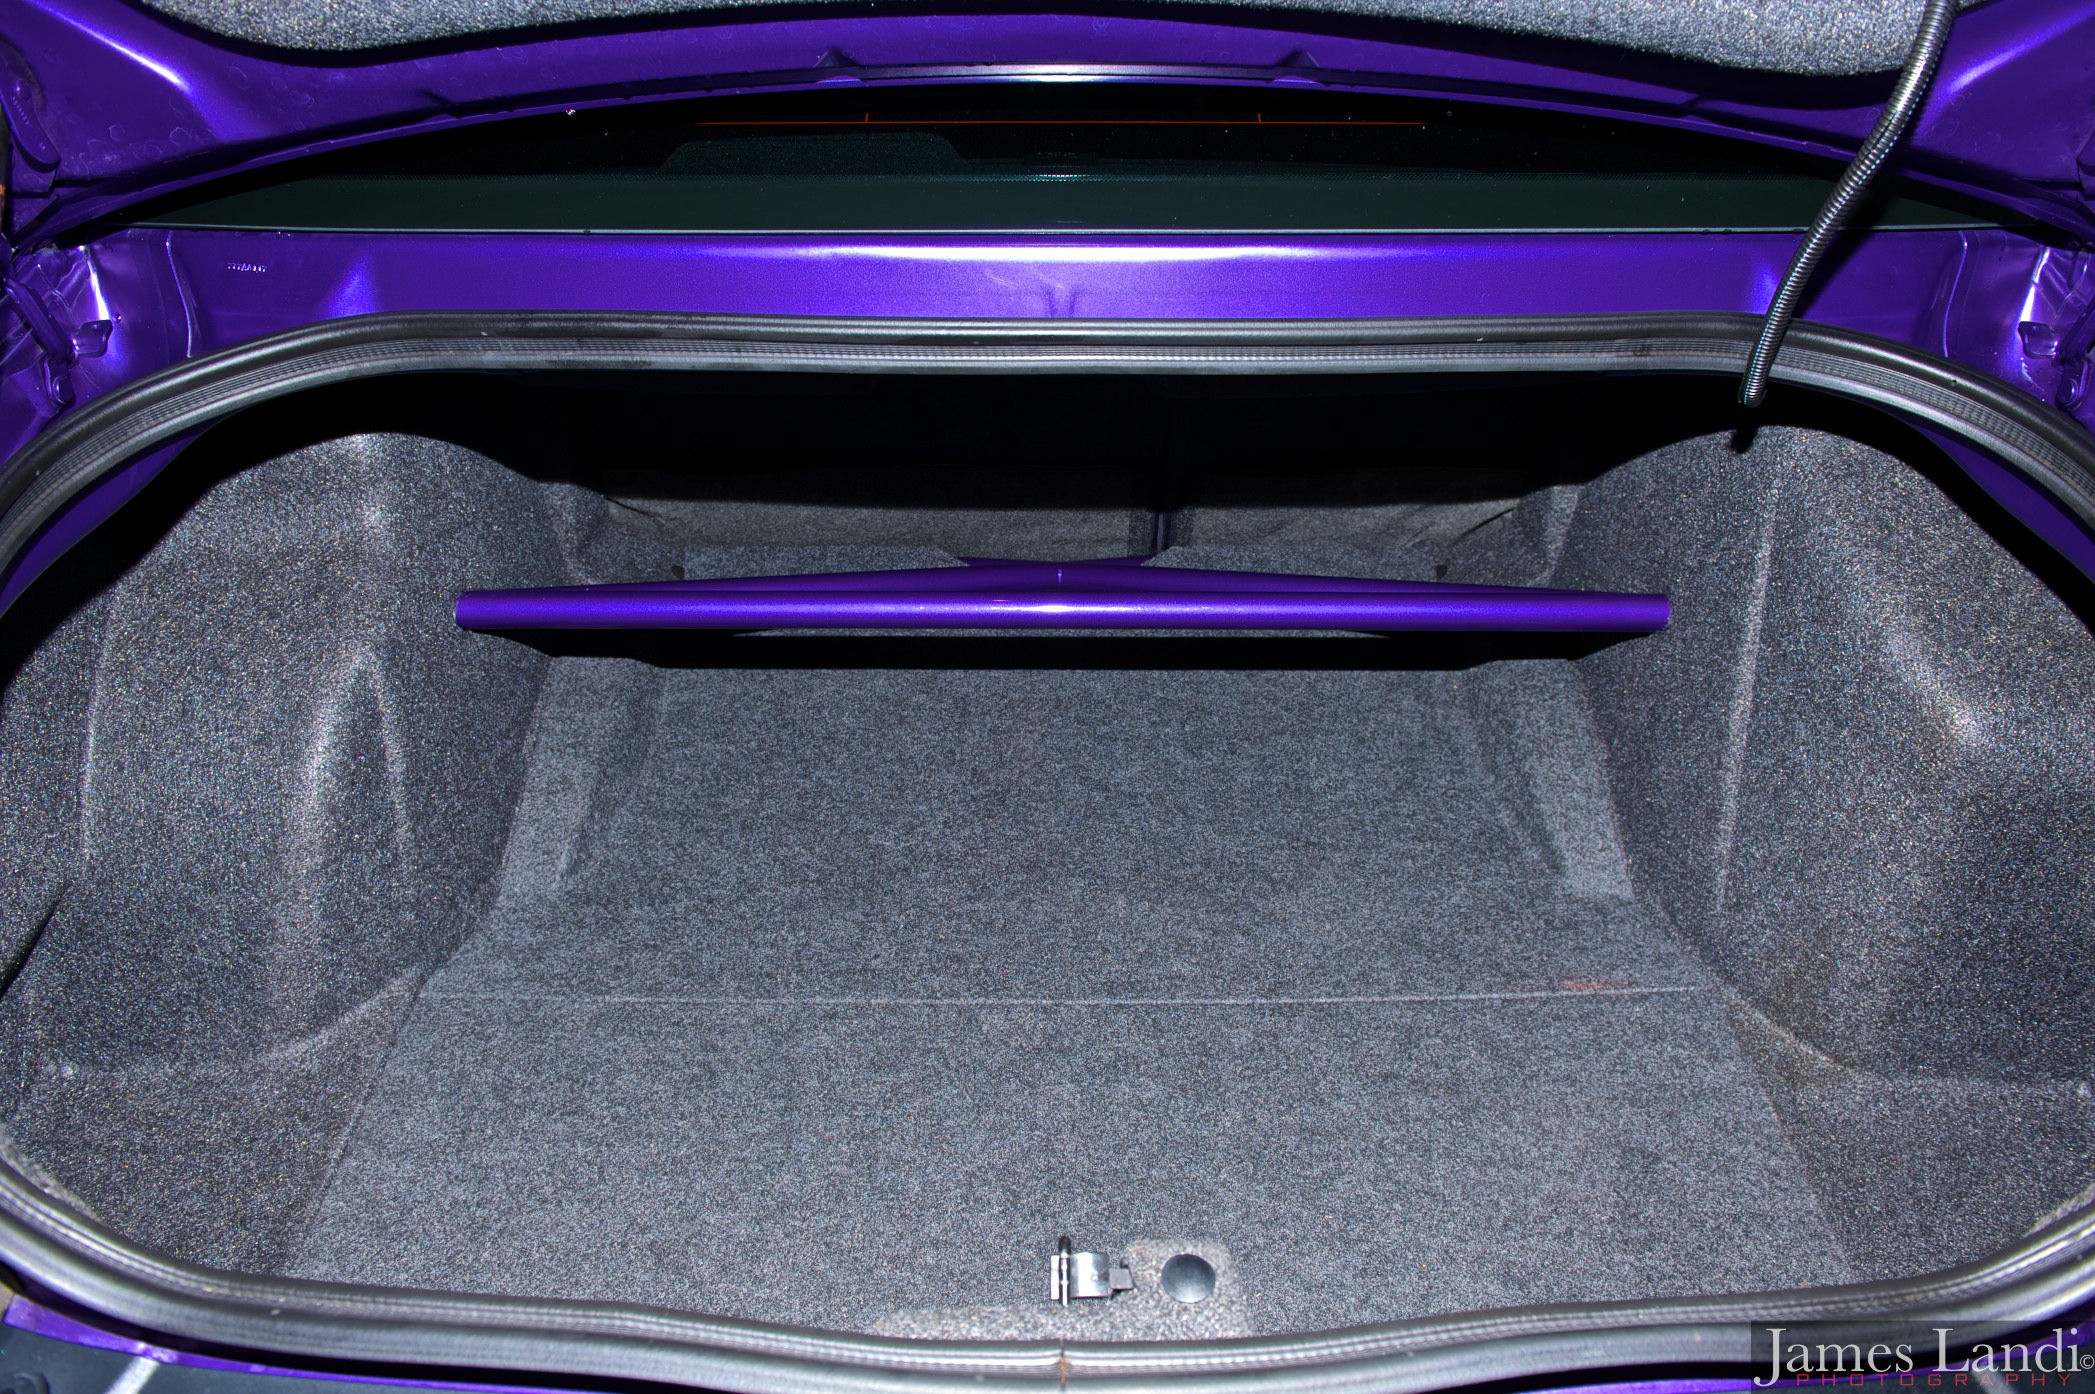
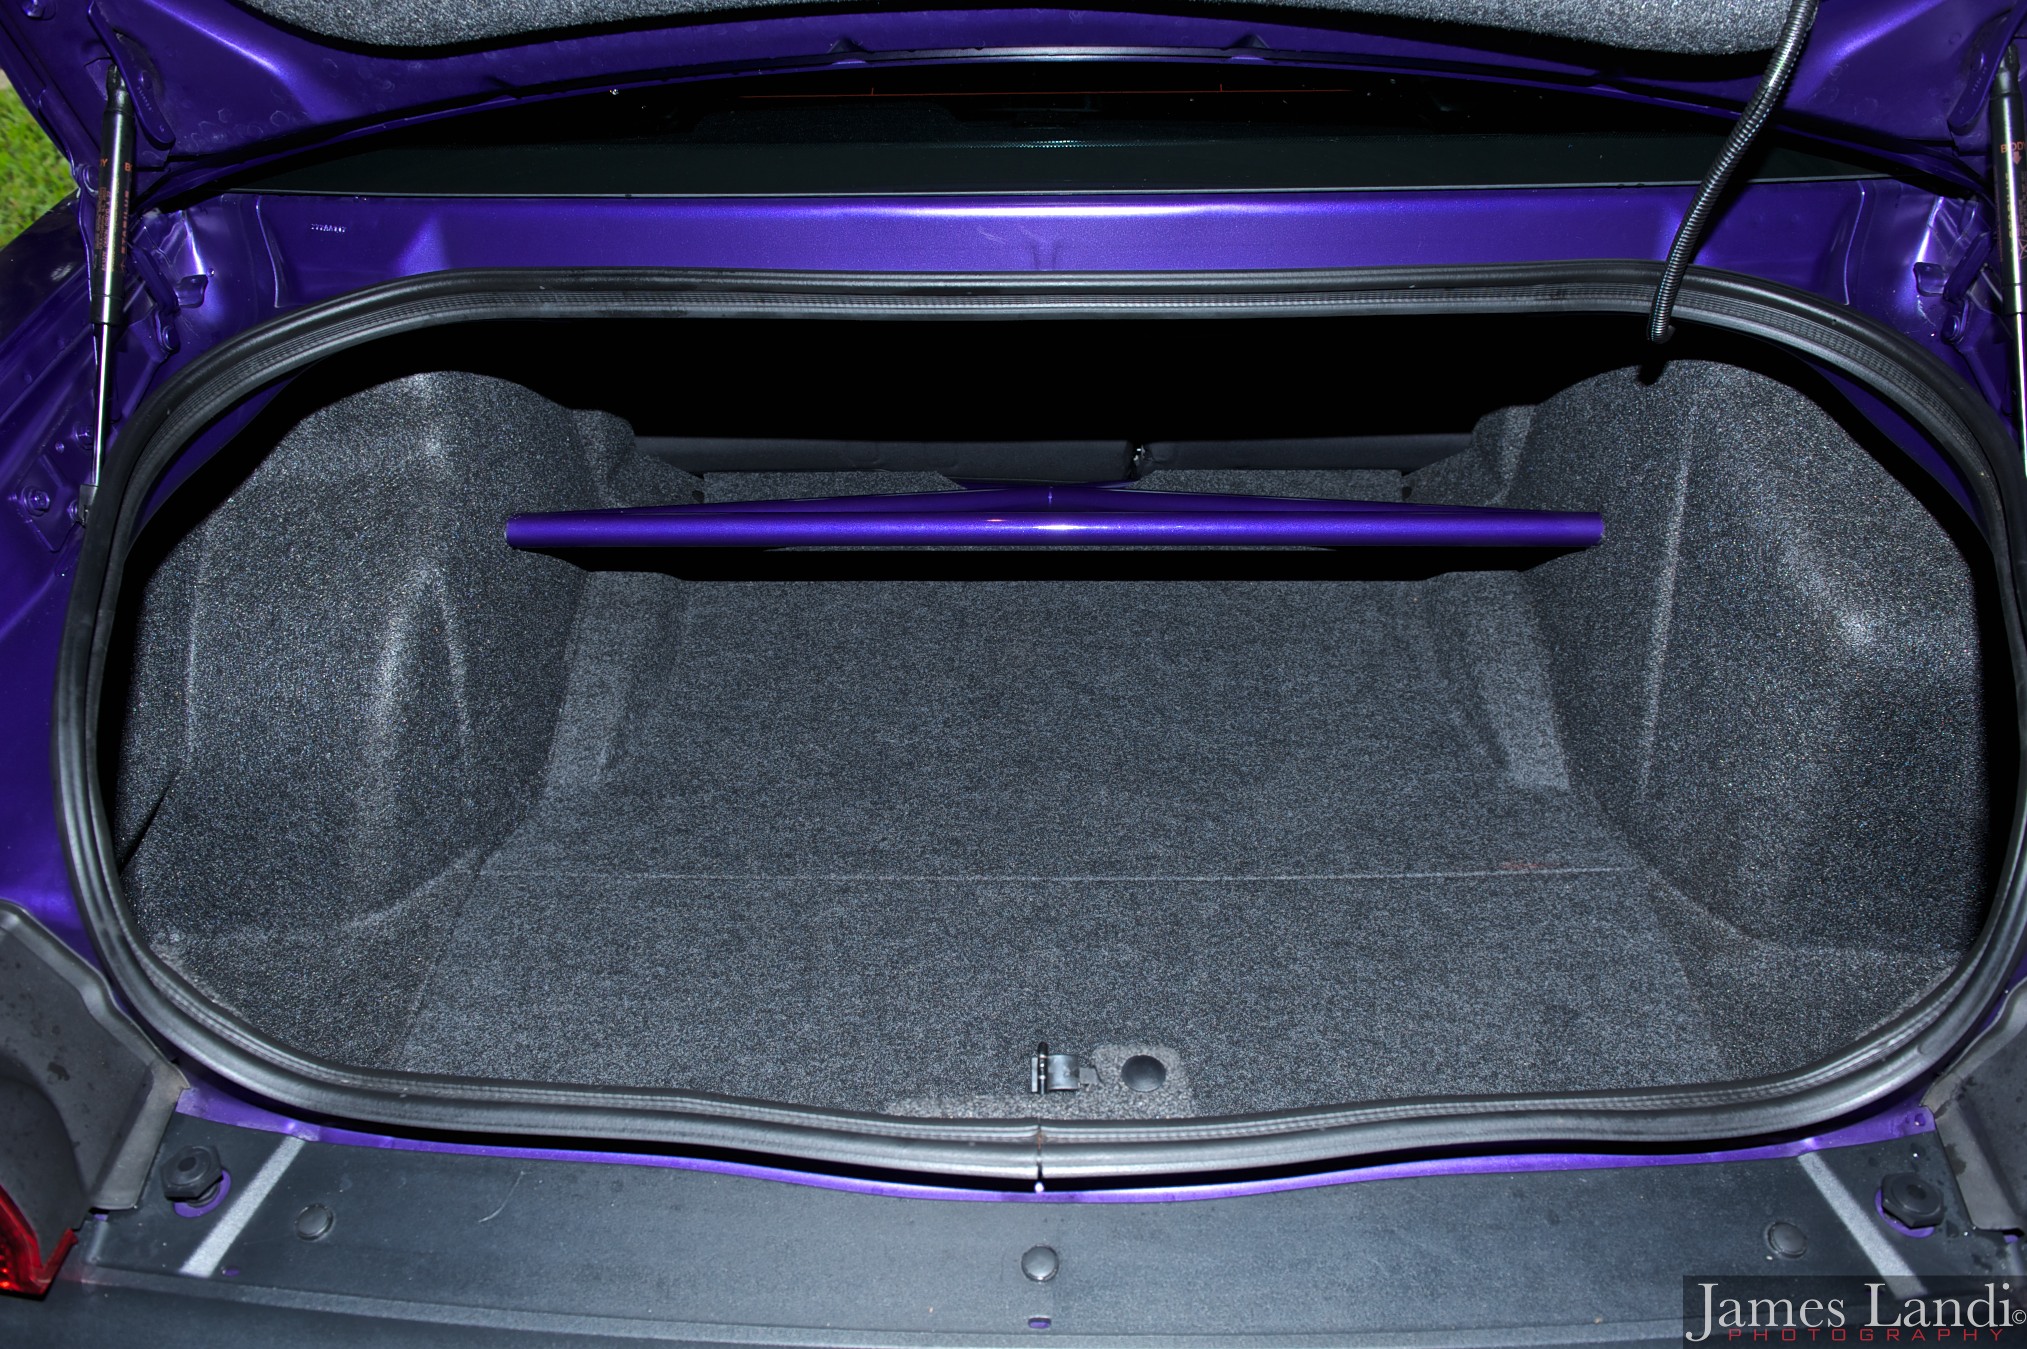
And there you have it, install the trunk floor mat over the spare tire, give it another quick swipe with the vacuum, fold the rear seats up and you’re all set
 Petty’s Garage rear strut brace $314 and paint option $35 (Black is standard), they now offer Chrome for an additional $120