Few upgrades

Got a burst of energy and have not really done anything to the engine bay in a while.

1st on the list was to relocated the front video output that ran along the top of the fender by the coolant tank. This was a grey RCA type cable and always looked out of place. I had to replace my front radar wire as well so now was a good time to rip into the engine compartment.

2nd clean up the ABS cover and install a master cut off switch(lighted) to keep me from doing burn outs with my street tires
20150417_165053
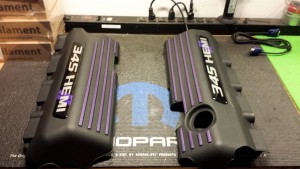
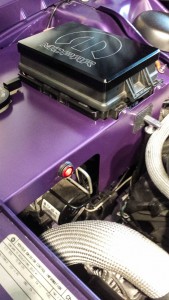
Next up was painting PCP stripes on my Half Covers

20150418_071515

Just ordered steering wheel and dash badge

Here is what Nate from Rebadge is doing for my steering wheel and dash badge.

pcp-badges-by-nate

We will be doing a group install (3-4 Challengers) on the steering wheel badge. It’s a simple but delicate process of disconnecting the battery for a good 10 minutes so we can remove the airbag.  If you’re interested in replacing your steering wheel emblem with a custom emblem from Rebadge, check out Speedy’s Garage for a great how to remove the airbag and OEM emblem.

Petty’s Rear strut tower brace – unboxing and installation

Received my Petty’s Garage rear strut brace and wanted to do a unboxing and installing post.

Before we get into the unboxing and installation part of this post, let me take a minute to talk about the service and speed of delivery I’ve received over the years purchasing from Petty’s Garage.  While I’ve been very pleased at their service in the past, this part was ordered by my wife on Dec 21rd (Friday before the Christmas holiday) as a Christmas present.   I was not expecting this to come in until after the new year. However I received a UPS notice that my package from Petty’s Garage was going to be delivered on Friday Dec 28th.  I’ll be honest with you, I really think these guys are Santa and his elves or they have licensed Santa’s exceptional delivery protocols. I am amazed at how quickly these guys and custom paint a part and have it at my door step in under 5 working days.

On to the unboxing:

As always the product came well packaged and wrapped with all the extra hardware safely tucked into it’s own packaging

_DSC4826** My only complaint is they must use the heaviest type tape to help hold the pad wrapping in place.  I had problems cutting it with a brand new razor blade.  You really want to be careful with cutting this TOP SECRET NASCAR approved packaging tape, making sure you don’t scratch your freshly painted brace.

Continue reading

Next mod – Better Brakes

Next mod, much better brakes without breaking the bank.

Our stock RT Challengers have a front rotor of 13.6 diameter and 1.10 thick but the SRT rotor is 14.2 diameter and 1.26 thick.  The backs rotors are 12.625 diameter and .875 thick and the SRT rotor 13.75 diameter and 1.10 thick.

Now with a very inexpensive adapter kit you can put SRT rotors on the front and Charger Police package adapters to accommodate larger rotors on the back for an all around better braking experience for about the same price to replace your rotors at your local brake shop.

With that said, the two main pieces are the adapters to fit our stock calipers to the larger and thicker rotors. So far I’ve ordered the two brackets:

Front: Serious Metal front kit (adapters only) Note they are an Canadian company thus exchange rates applyRear: Mopar Part # 5175065AB (Charger Police Package)

Once these parts arrive, I’ll order the brake pads (2005 Corvette pads #PGM731),  SRT rotors (slotted and dimpled) for the front and Charger (slotted and dimpled) rotors for the back

I’ll do a step by step installation guide when all the parts arrive.